

English
Managing Communications in an eZsign Folder
View Communications in a Folder
It is possible to view all communications that have been sent from an eZsign file, including follow-up messages, signature request emails, emails with signed documents, etc.
- You will need to click the Communications button, located at the bottom right of your screen.
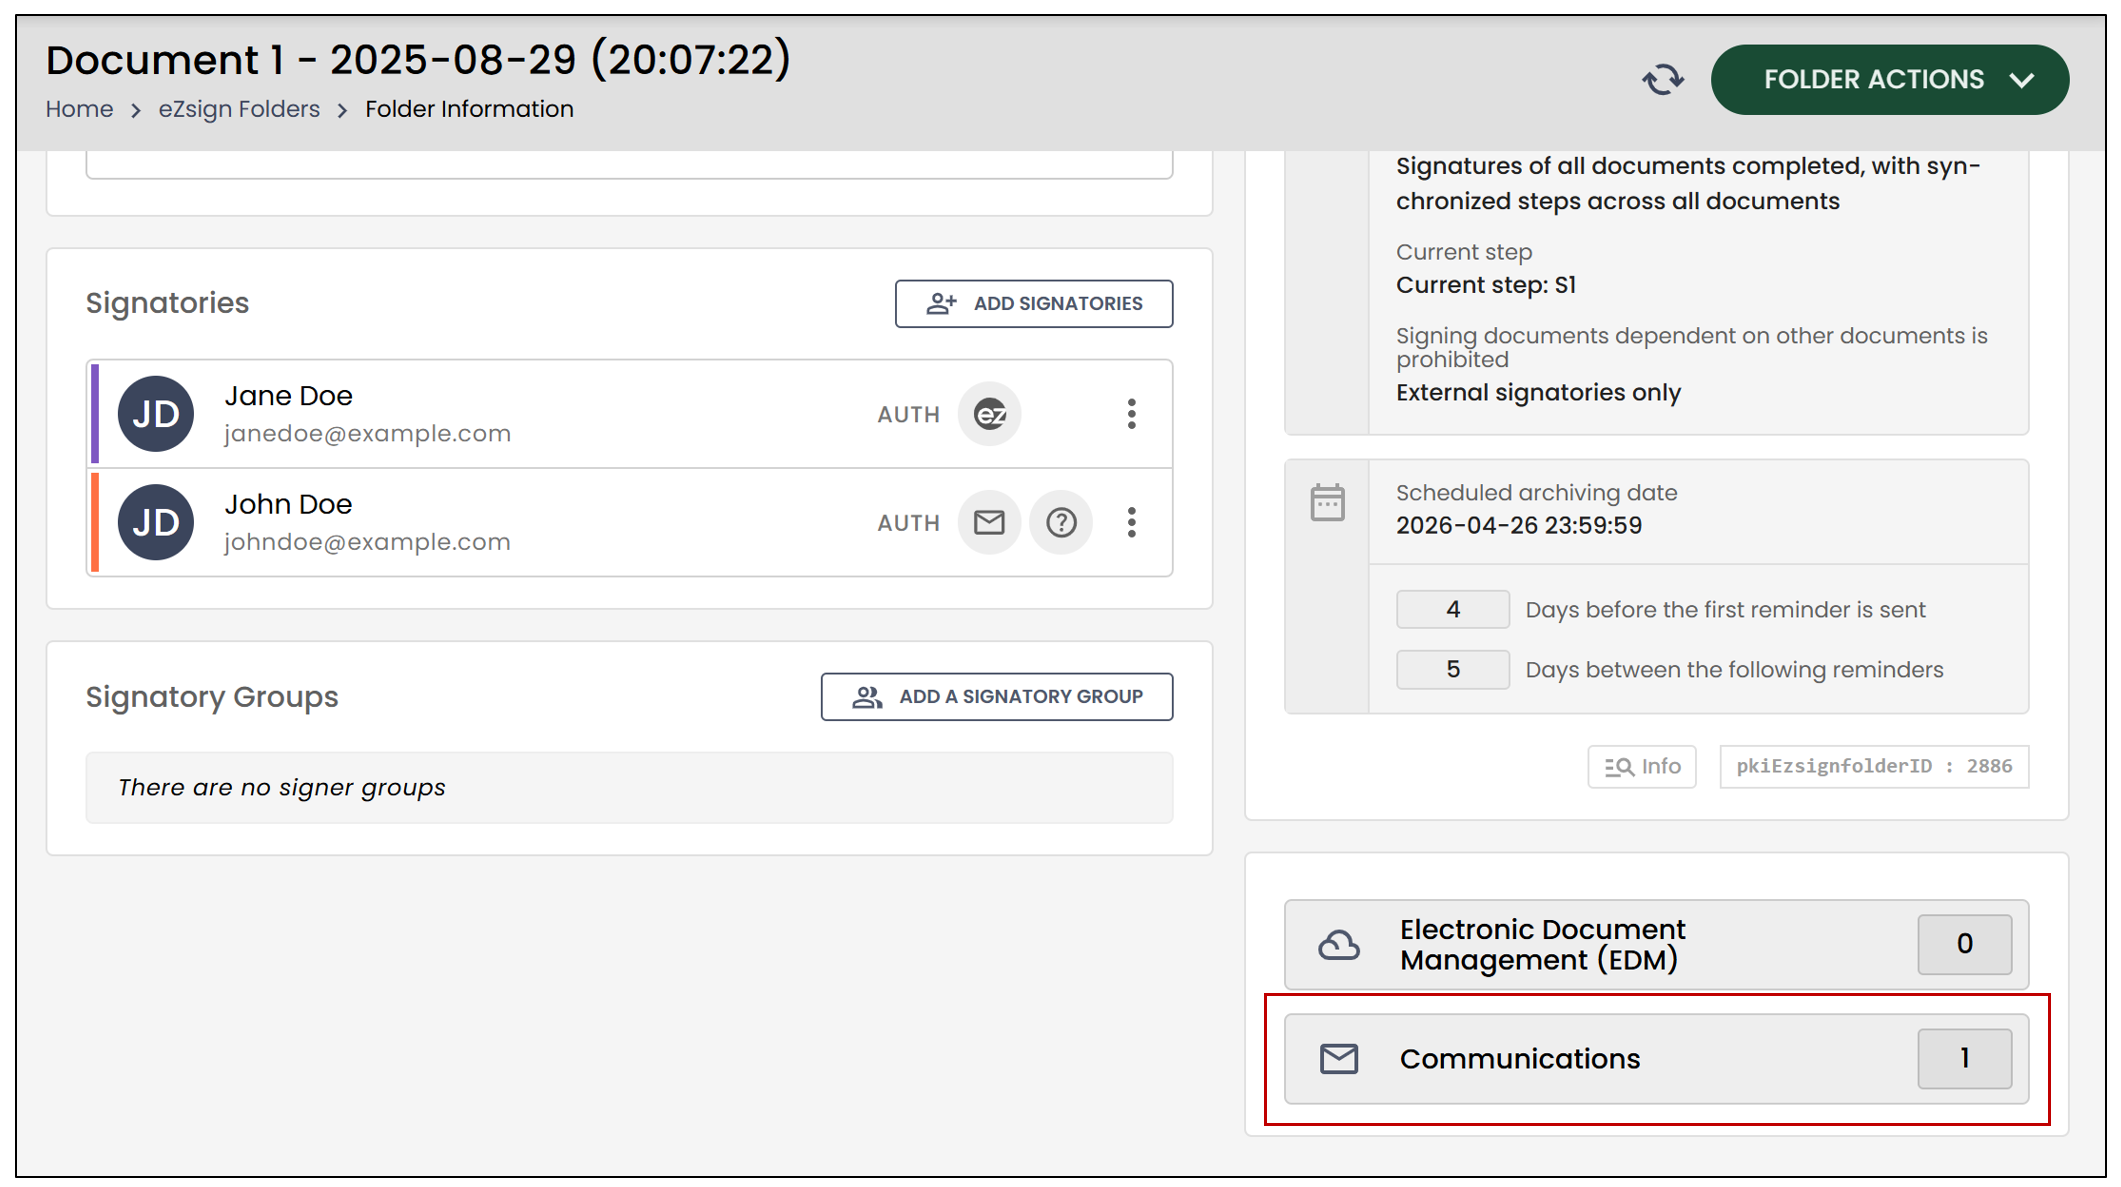
- Once you have clicked, you will be able to view all communications related to this file.
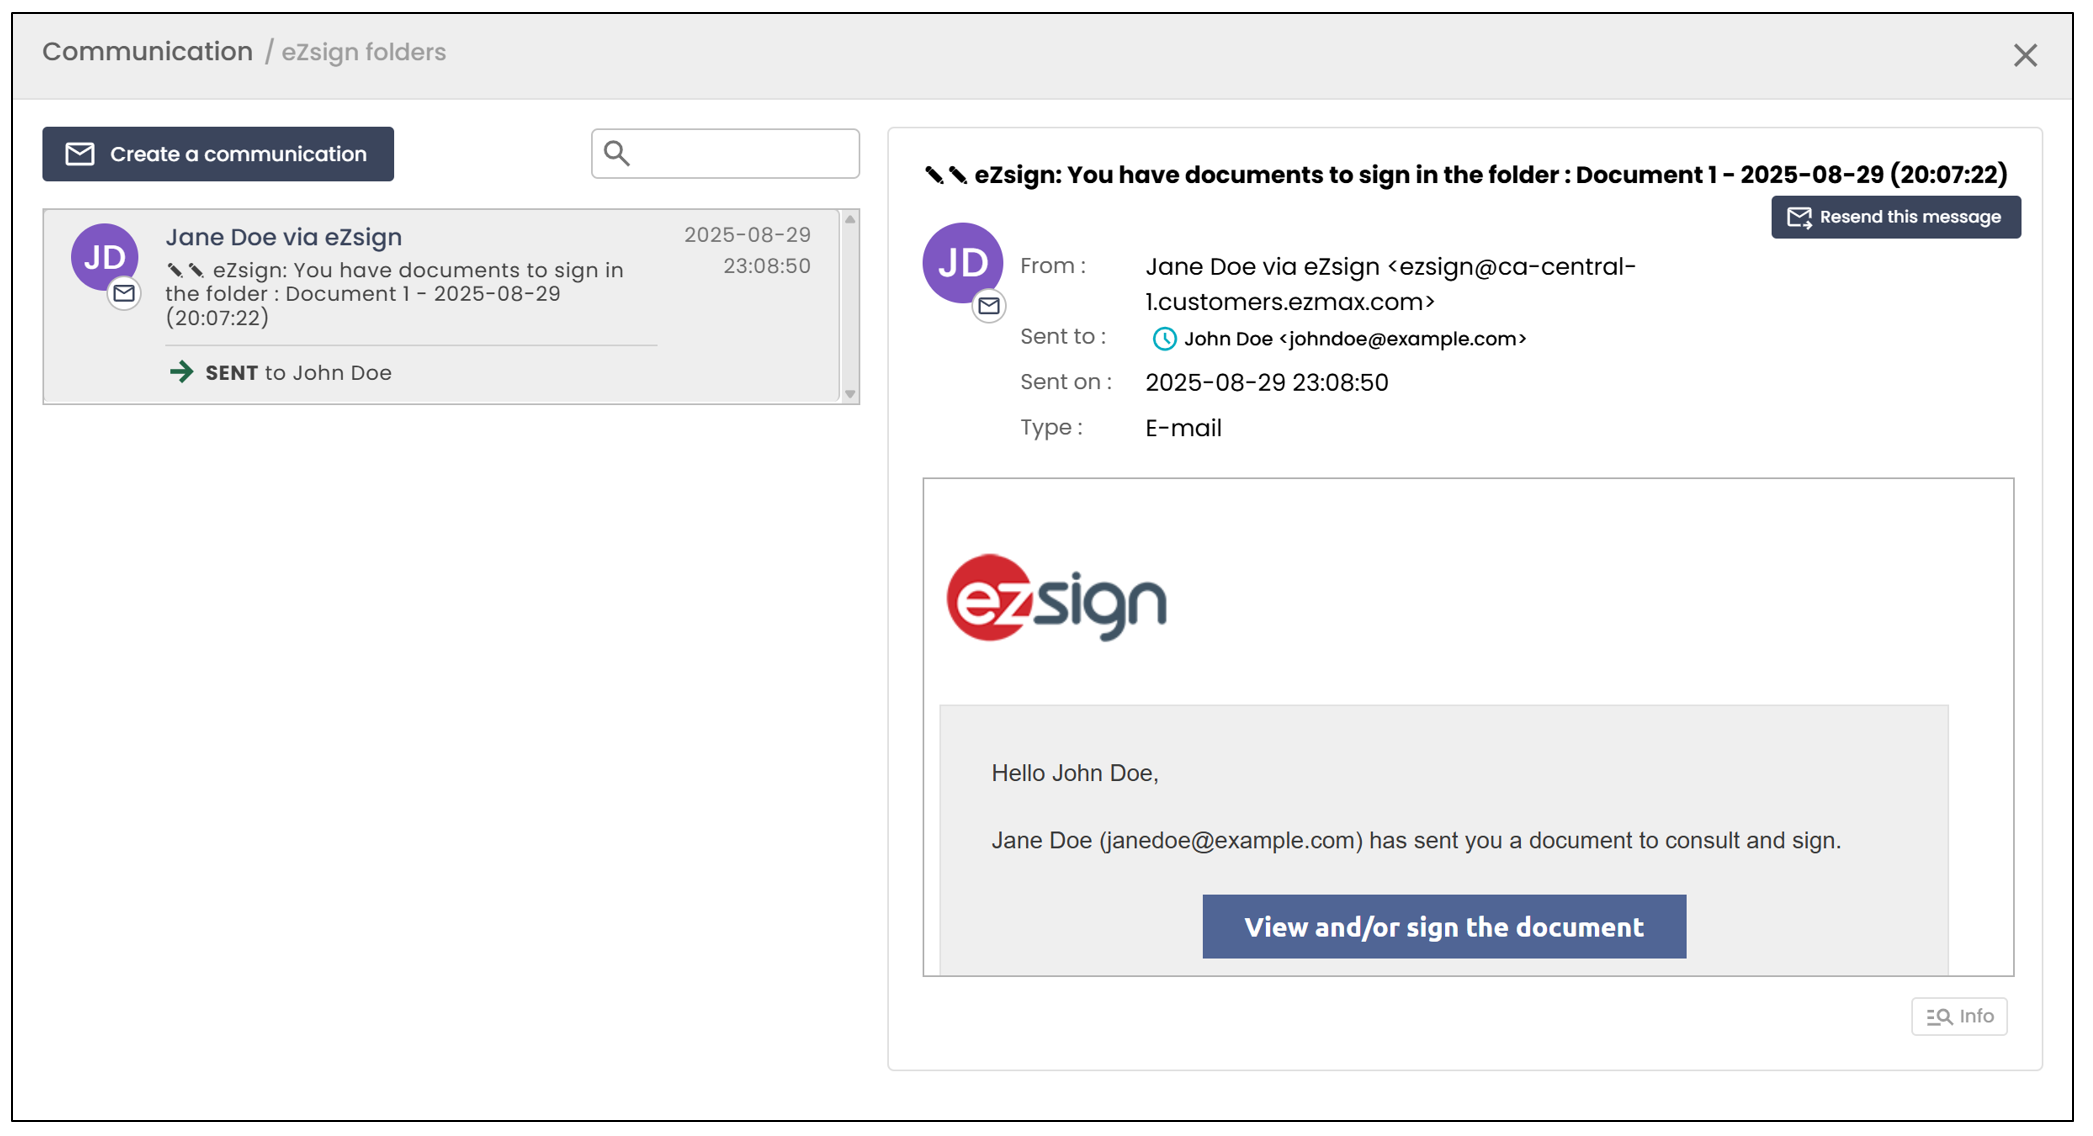
By clicking on a communication in the left column, the details will be displayed in the right section. You will then be able to view the email subject, recipient(s), date and time of sending, and the content of the message.
Send Signed Documents by Email
It is possible to send the completed documents (signed by all required signers) by email to the recipients of your choice.
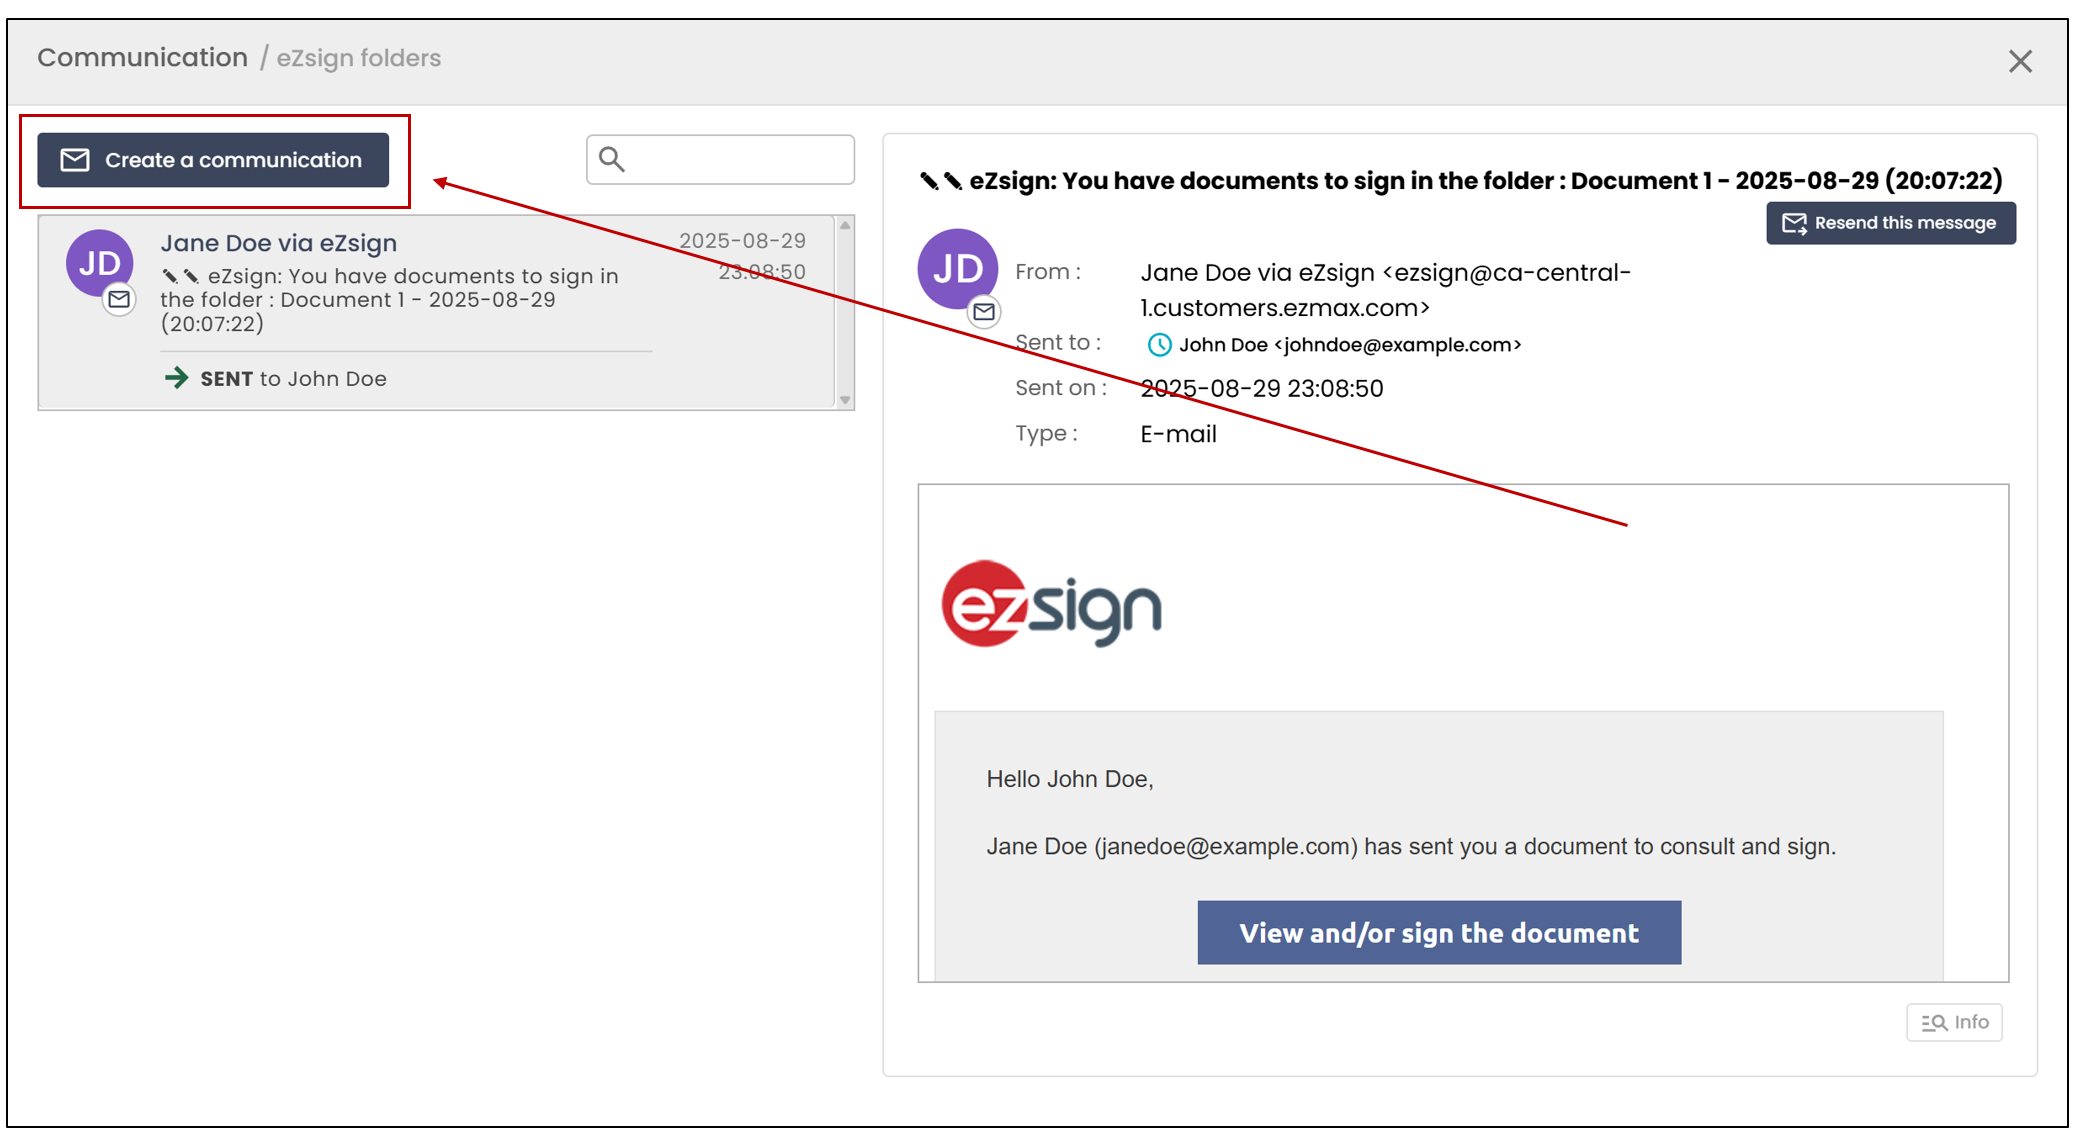
From the file communications, select Create Communication. This will allow you to send a new email to the recipients of your choice.
- You can then choose the recipients of your email. The list of people with access to the file will appear automatically, but you also have the option to add others.
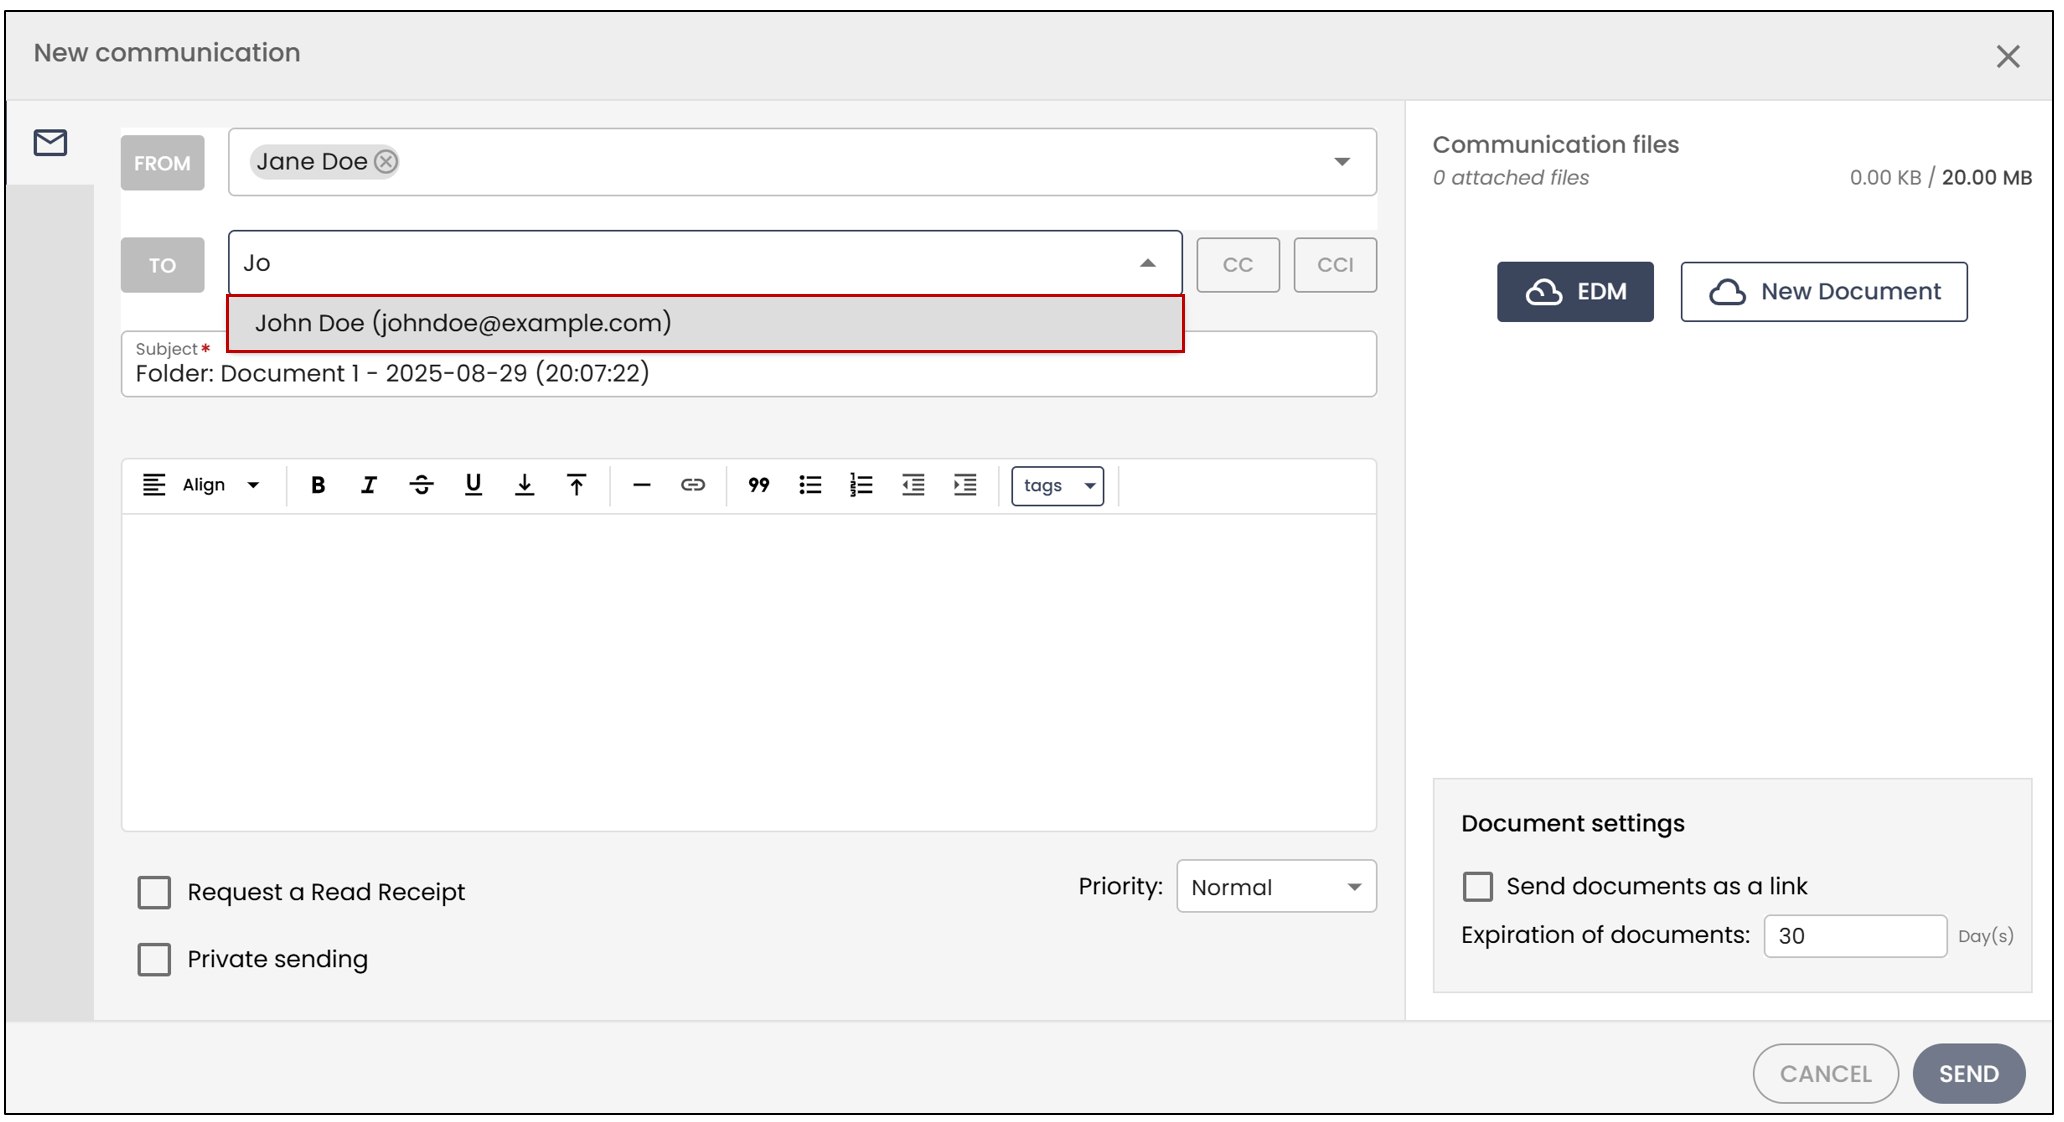
You also have the option to add recipients in Cc and/or Bcc :
Cc (Carbon Copy): The secondary recipient will receive the email for information purposes.
**Bcc **(Blind Carbon Copy): The secondary recipient will receive the email without other recipients being informed.
You can select the** Private Sending **option. If you are working in a shared file, this option ensures that only you can access this communication. Other people with access to the file will not be able to view it.

You can also adjust the priority of the email by clicking the button below.

Add Documents
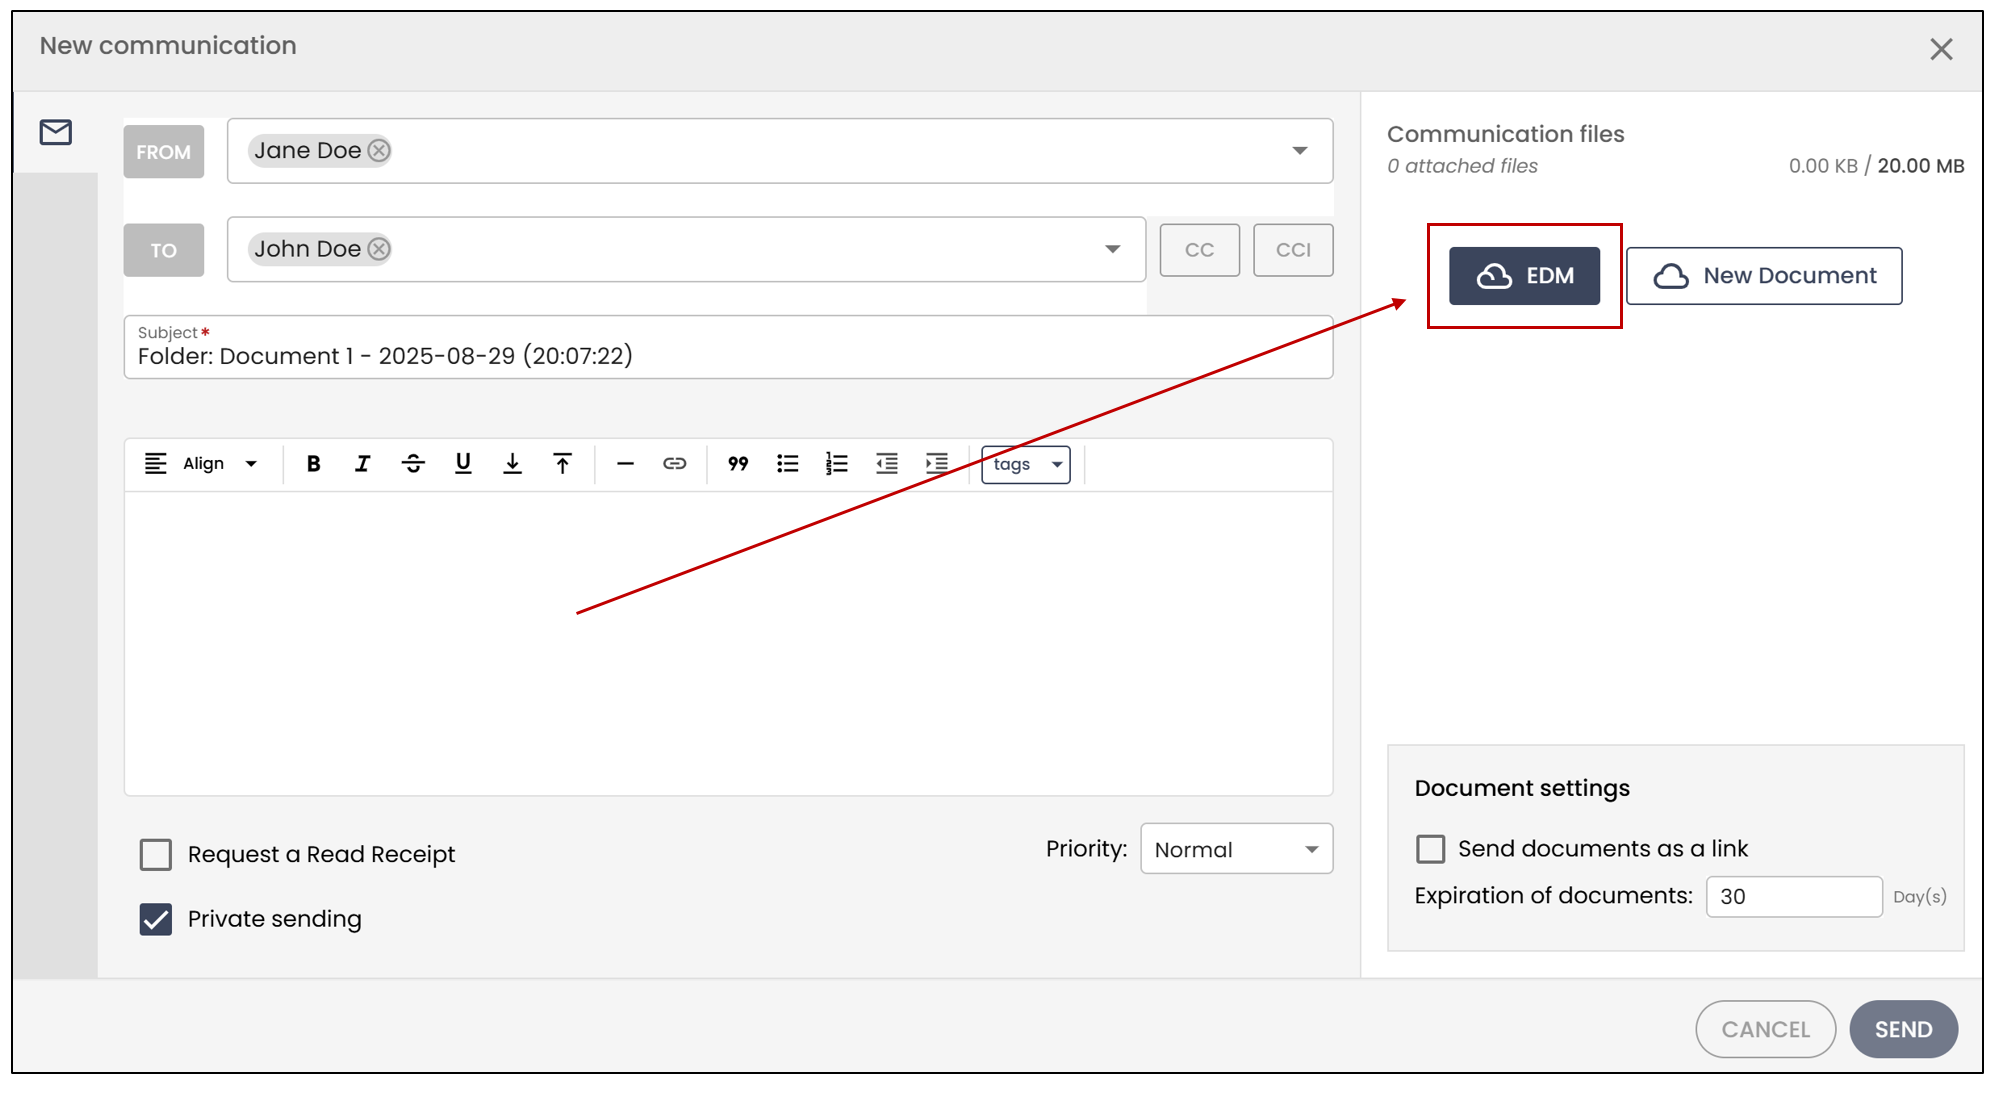
The first option to add documents is to click on EDM. This will allow you to view all signed documents, as well as proofs and attachments specific to this eZsign file.
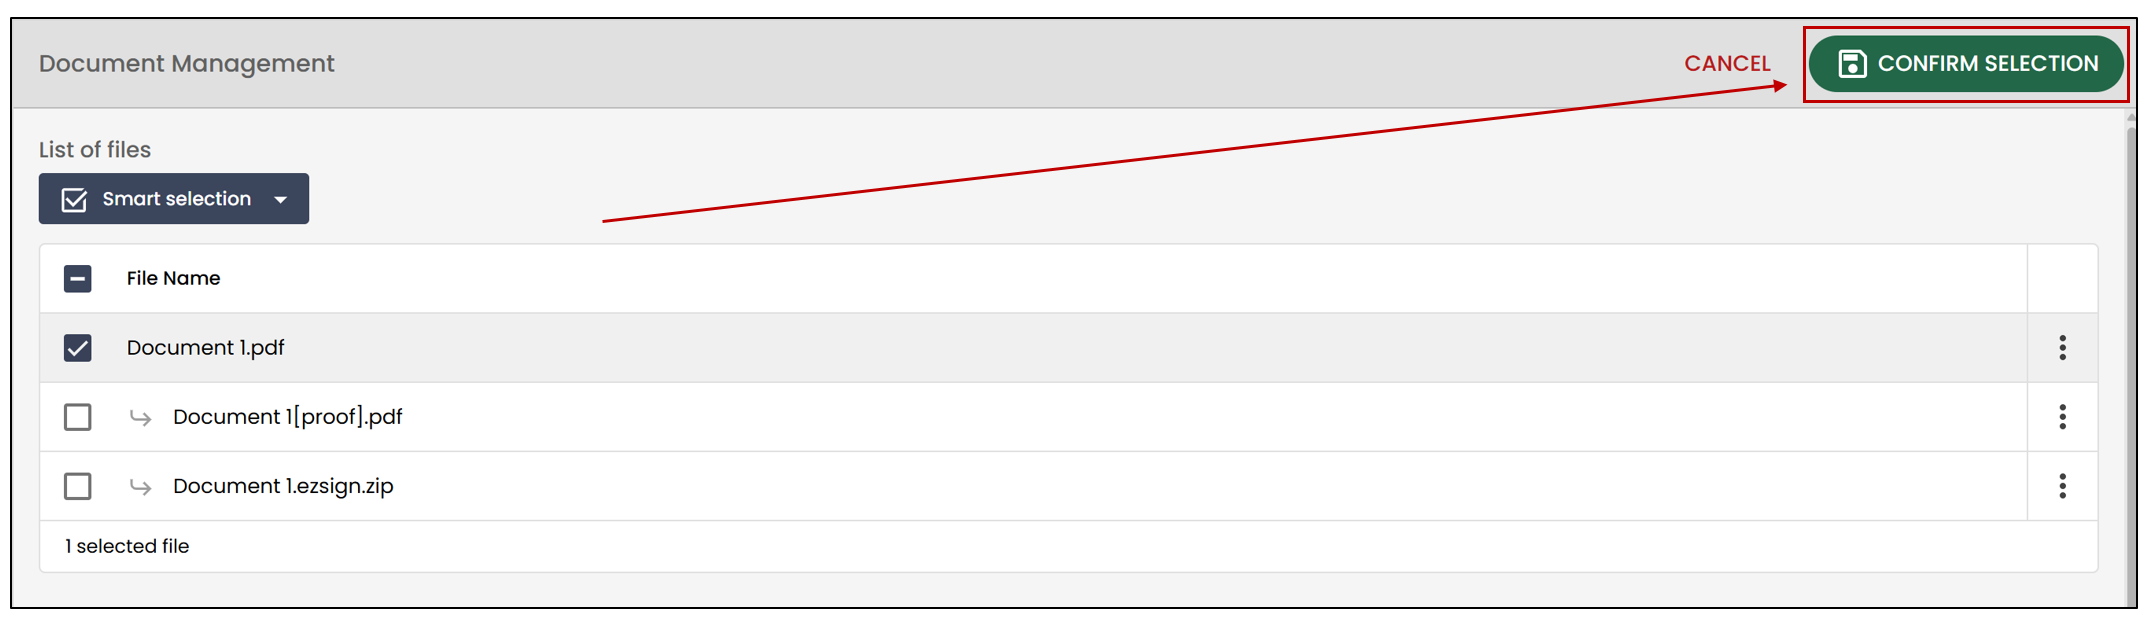
Next, check the files you wish to send. You also have the option to change the order in which the files will appear in the email, under Communication Files. Once you are finished, click Confirm Selection.
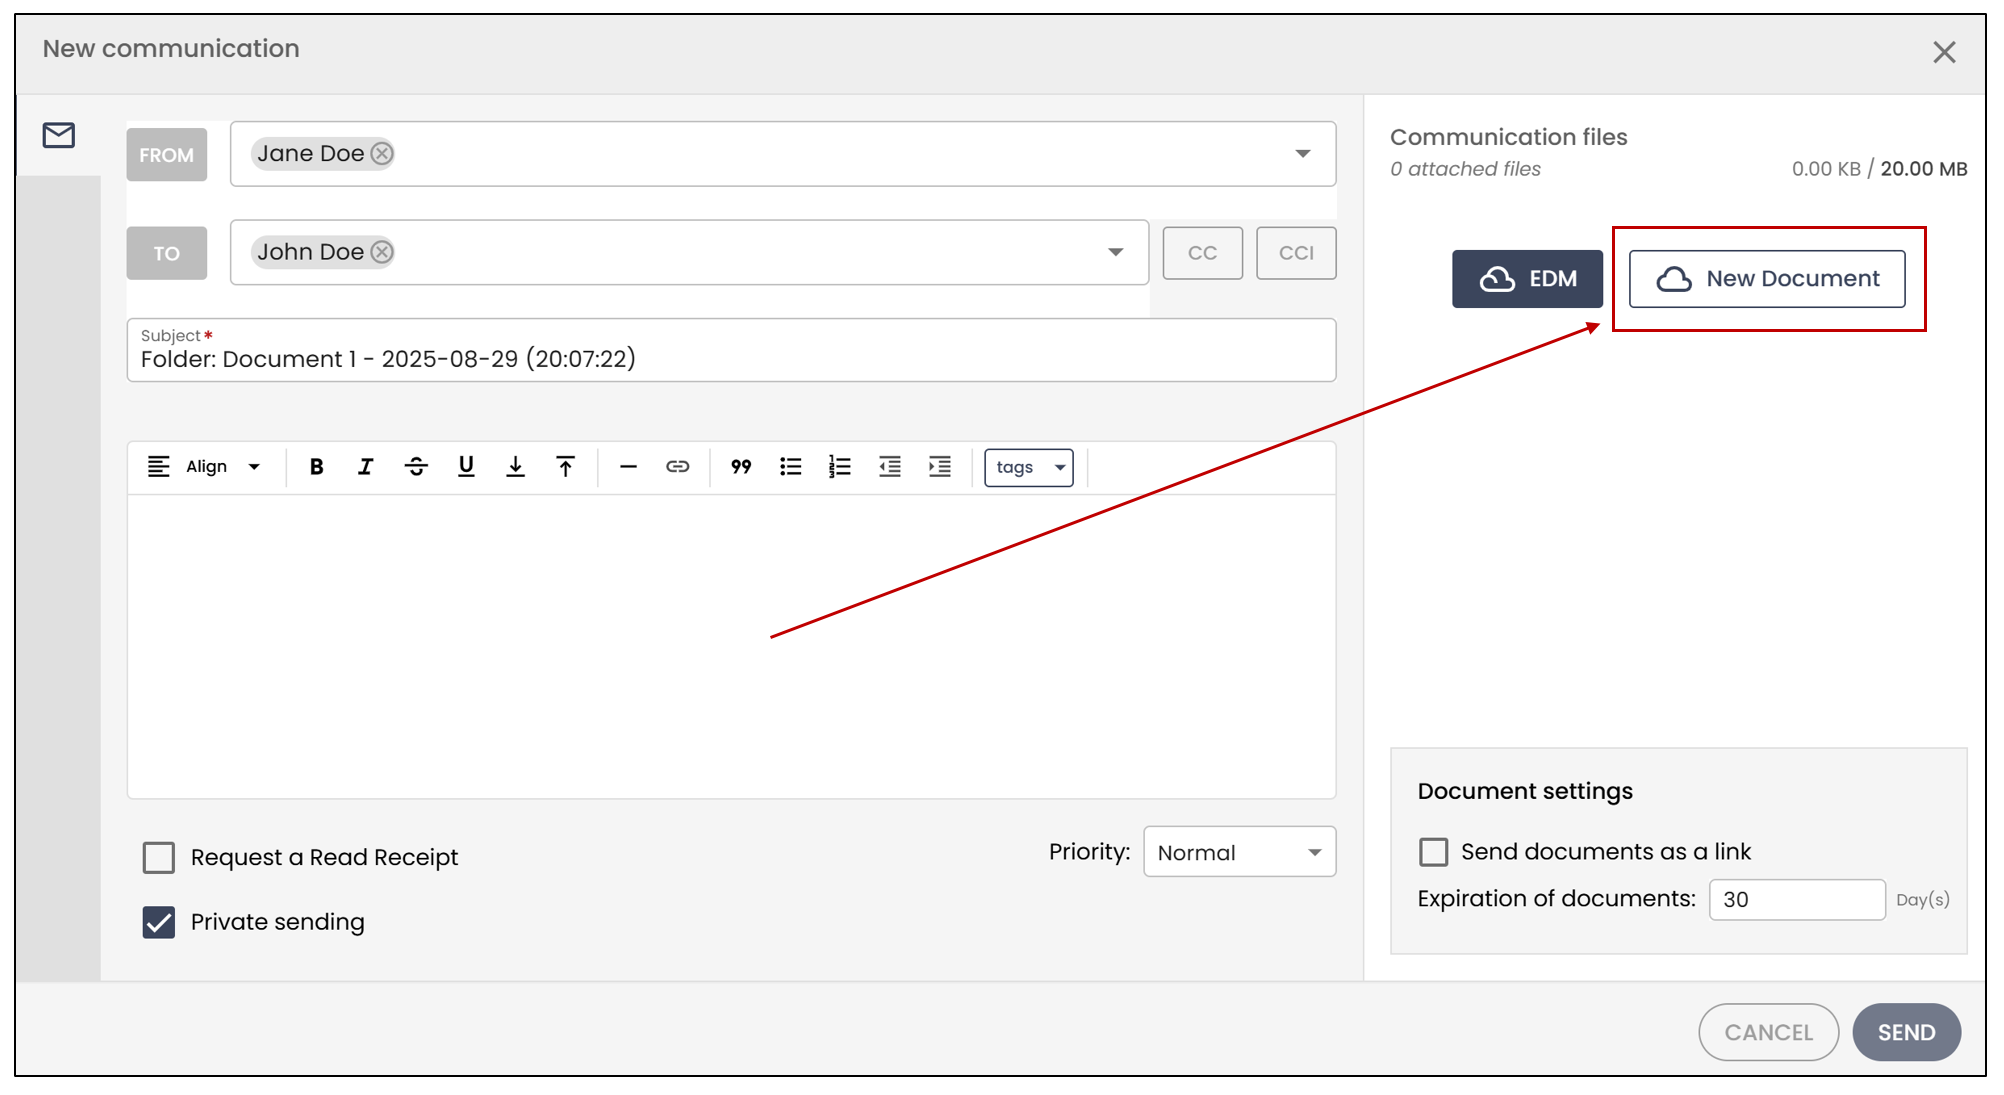
The second option is to select New Document , which allows you to add files directly from your computer—i.e., documents that are not part of an eZsign file. These will be automatically attached to the email.
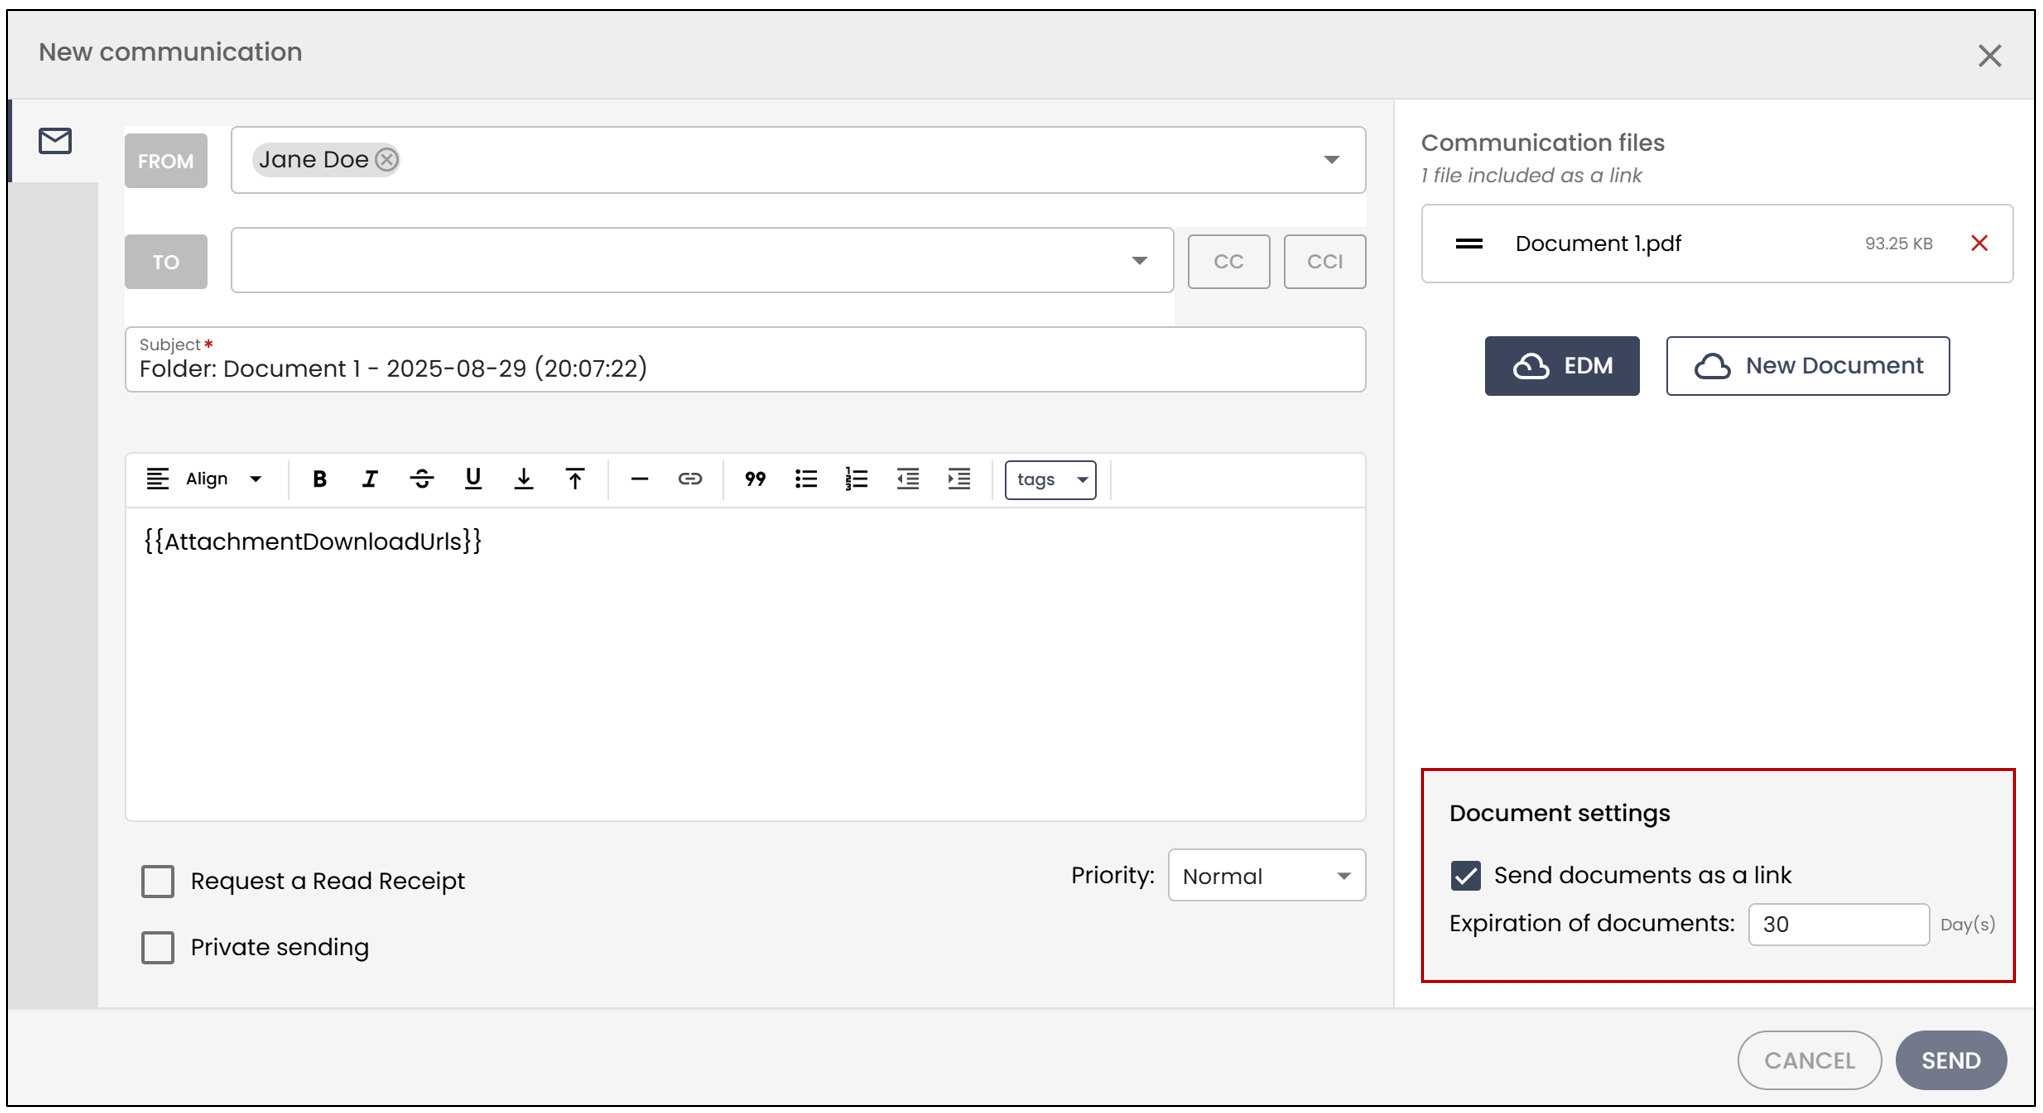
If you check the box Send documents as a link , the email recipients will need to download the documents by clicking the link. You also have the option to adjust the link’s validity period by changing the number of days before it expires.
Warning
The maximum size for documents to be sent is 20.00 MB. If this limit is exceeded, a link will automatically be sent to download the documents.