

English
Create a Bulk Send
Create a Bulk Send
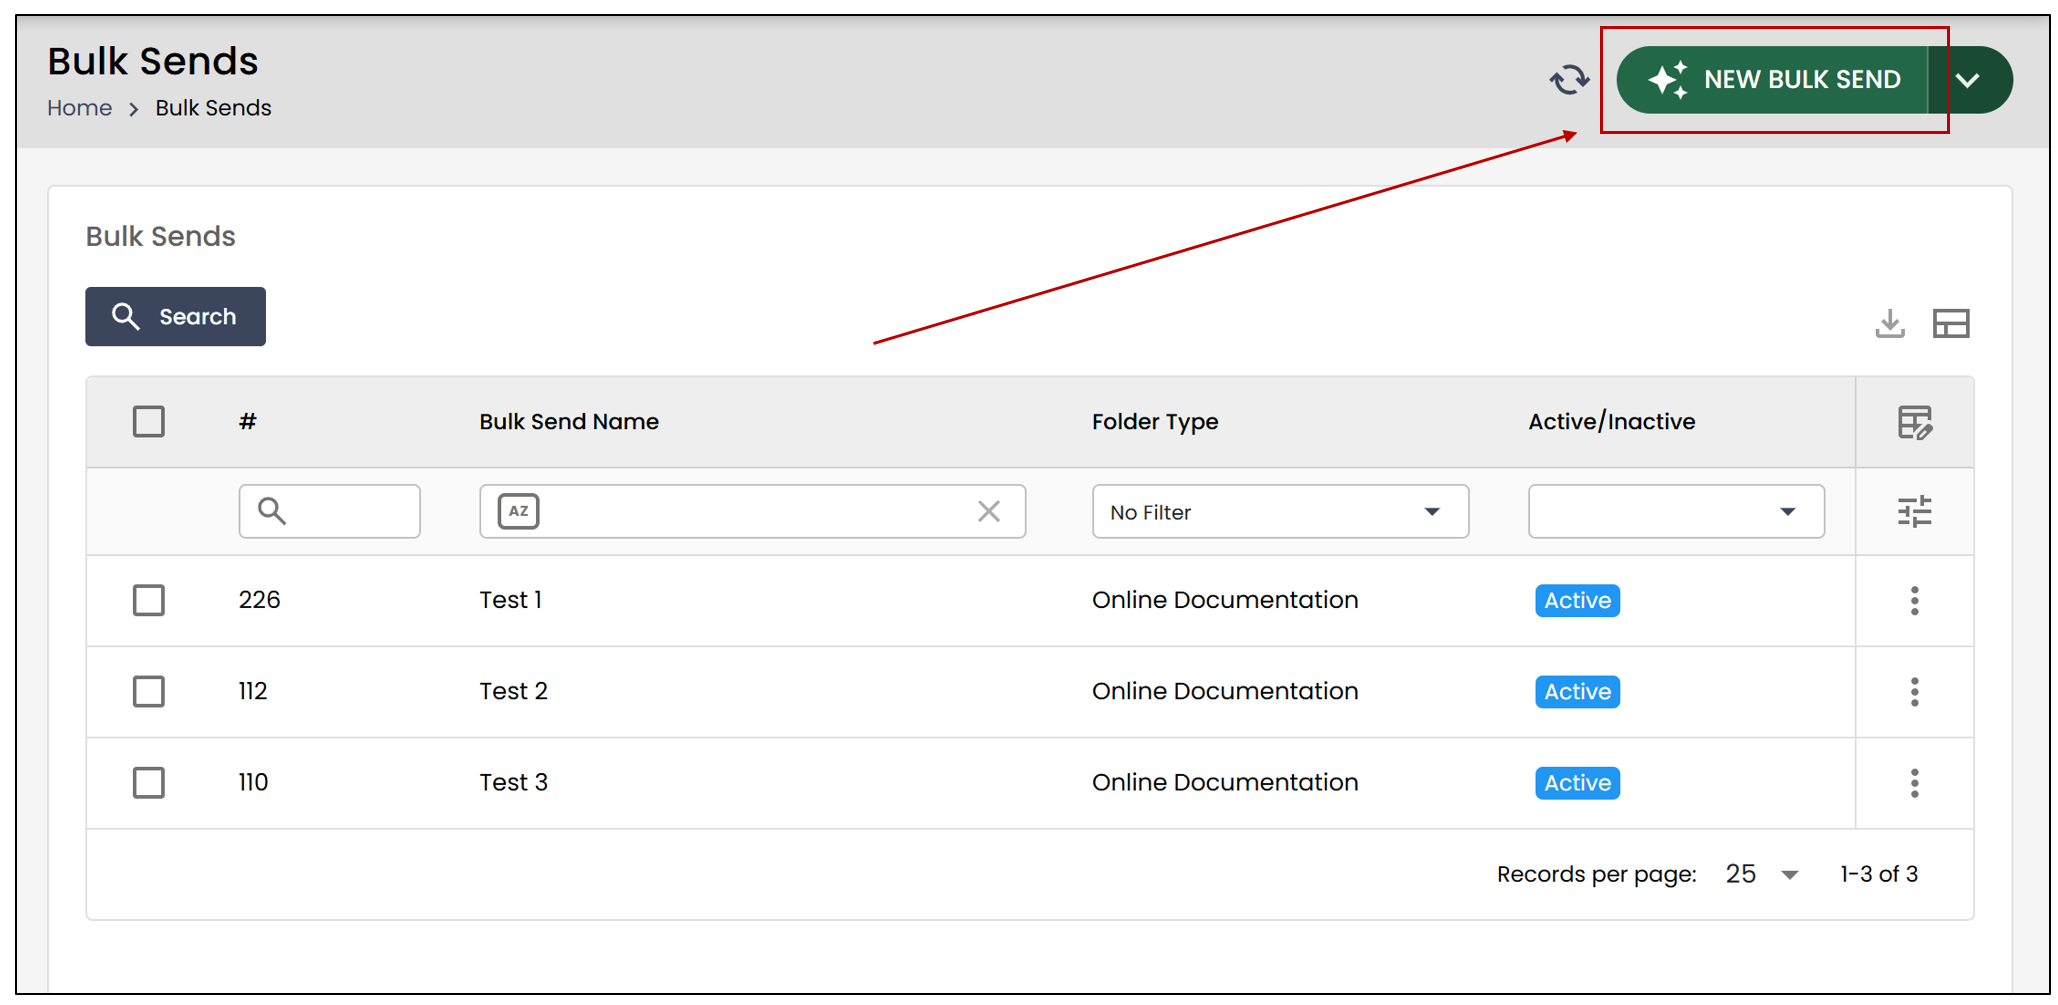
From the main menu >> Bulk Sends >> New Bulk Send.
Bulk Send Information
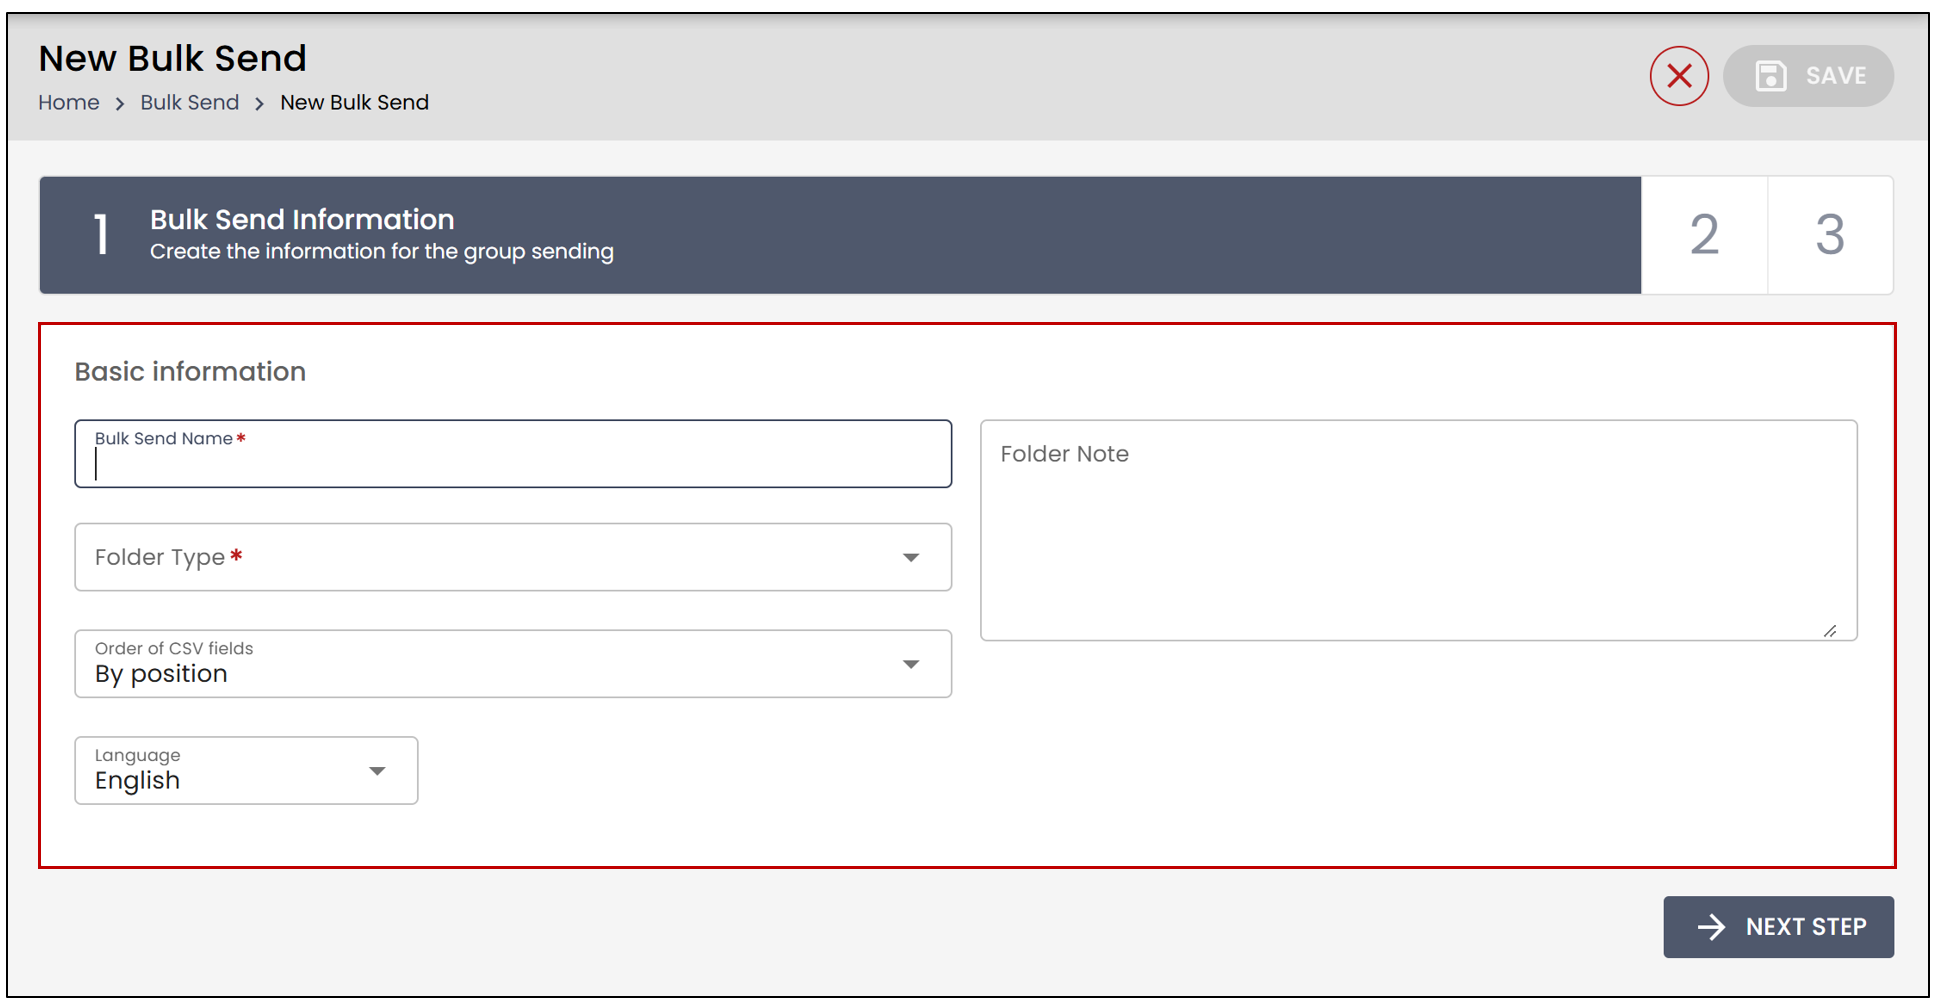
Bulk Send Name : Choose the name of the bulk send.
Folder Type : Select the folder type in which the bulk send will be located.
NOTE: The eZsign templates used in the bulk send must be located in the selected folder type.
Order of CSV Fields : Two methods are available to determine the order of the columns in the CSV file.
By position : The fields will be listed according to their position in the document.
By field name : The fields will be listed in alphabetical order based on the names of the document fields.
NOTE: When the By field name option is used, it is important to properly name the form fields. The columns in the CSV file must exactly match the names of the fields configured in the eZsign template. By default, fields are named using the following structure: document name, field group name, then field name.
Language : Select French or English.
Folder Note : You have the option to add a note to the folder.
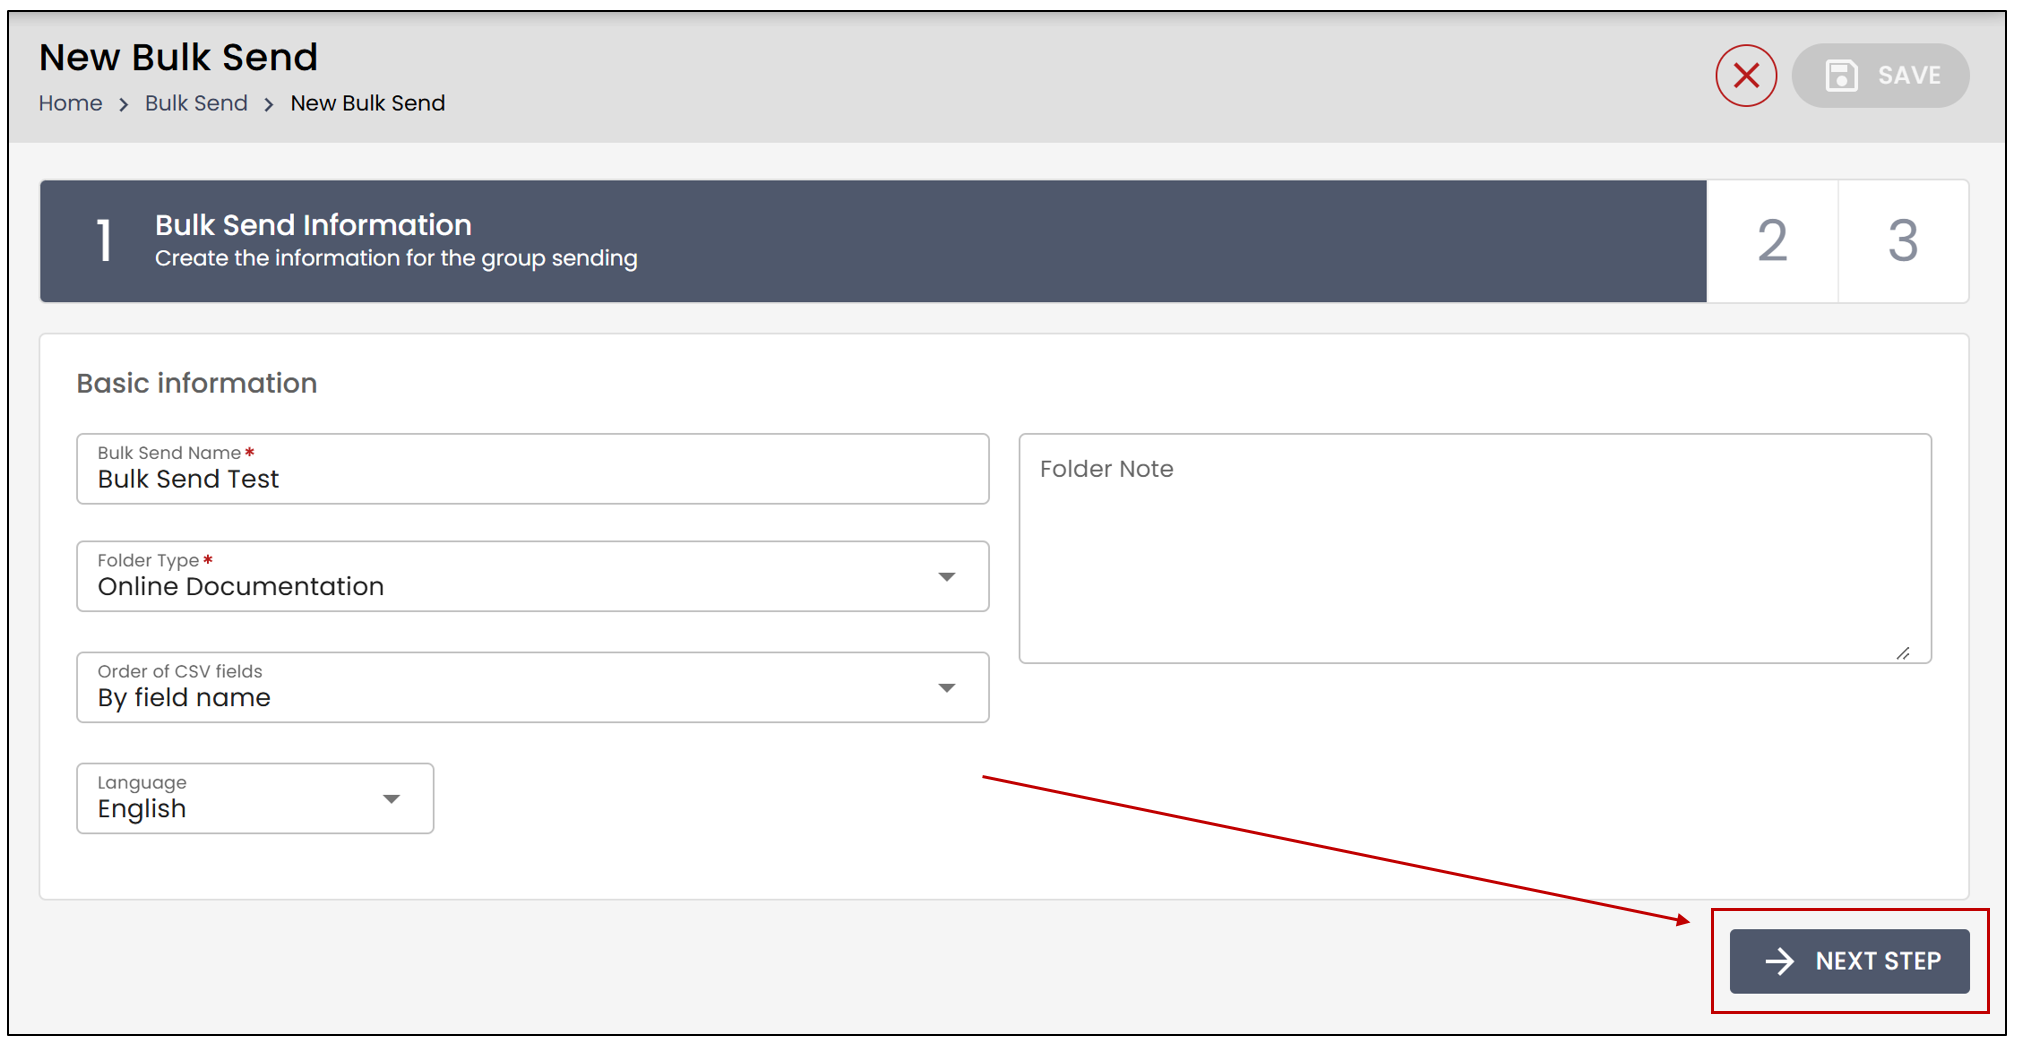
- Click on Next Step.
Adding Documents
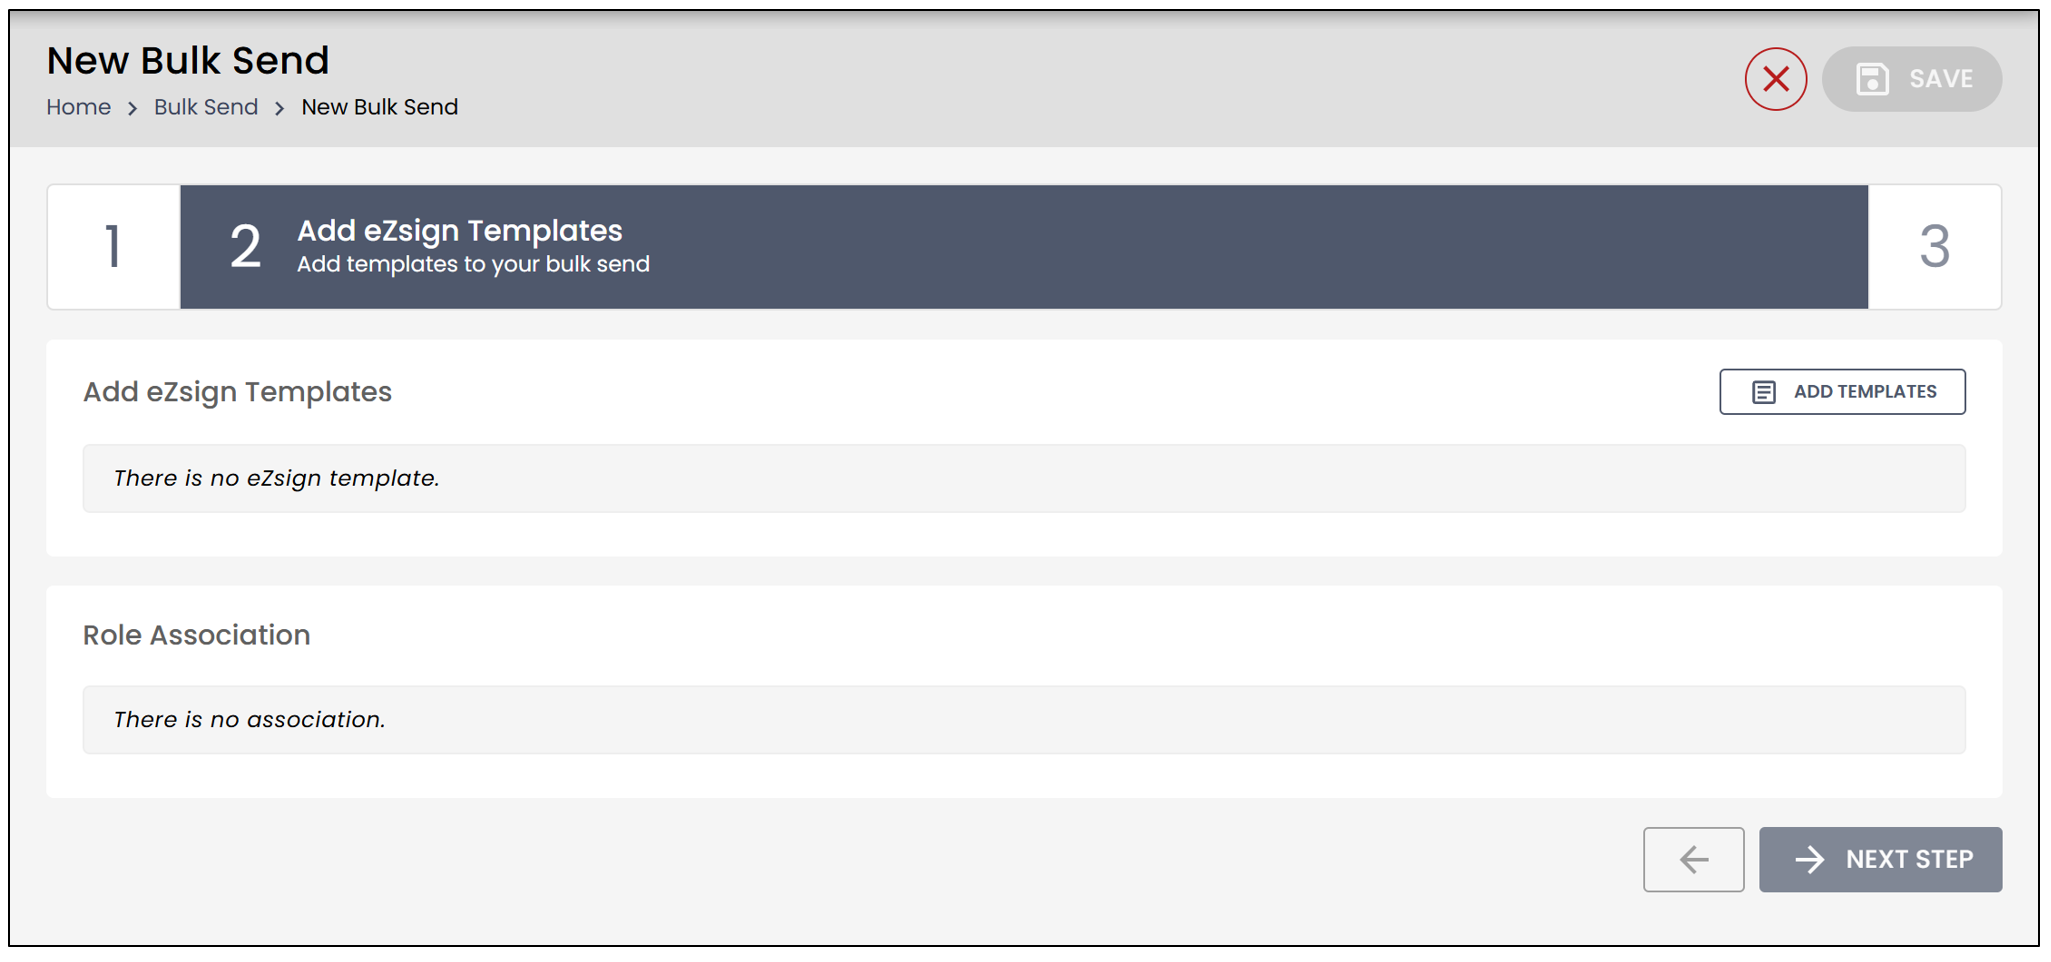
During the Add Documents step, you will have the option to add one or more eZsign templates or add a template group.
- Click on Add Templates , then click on the "+" to add the desired template.
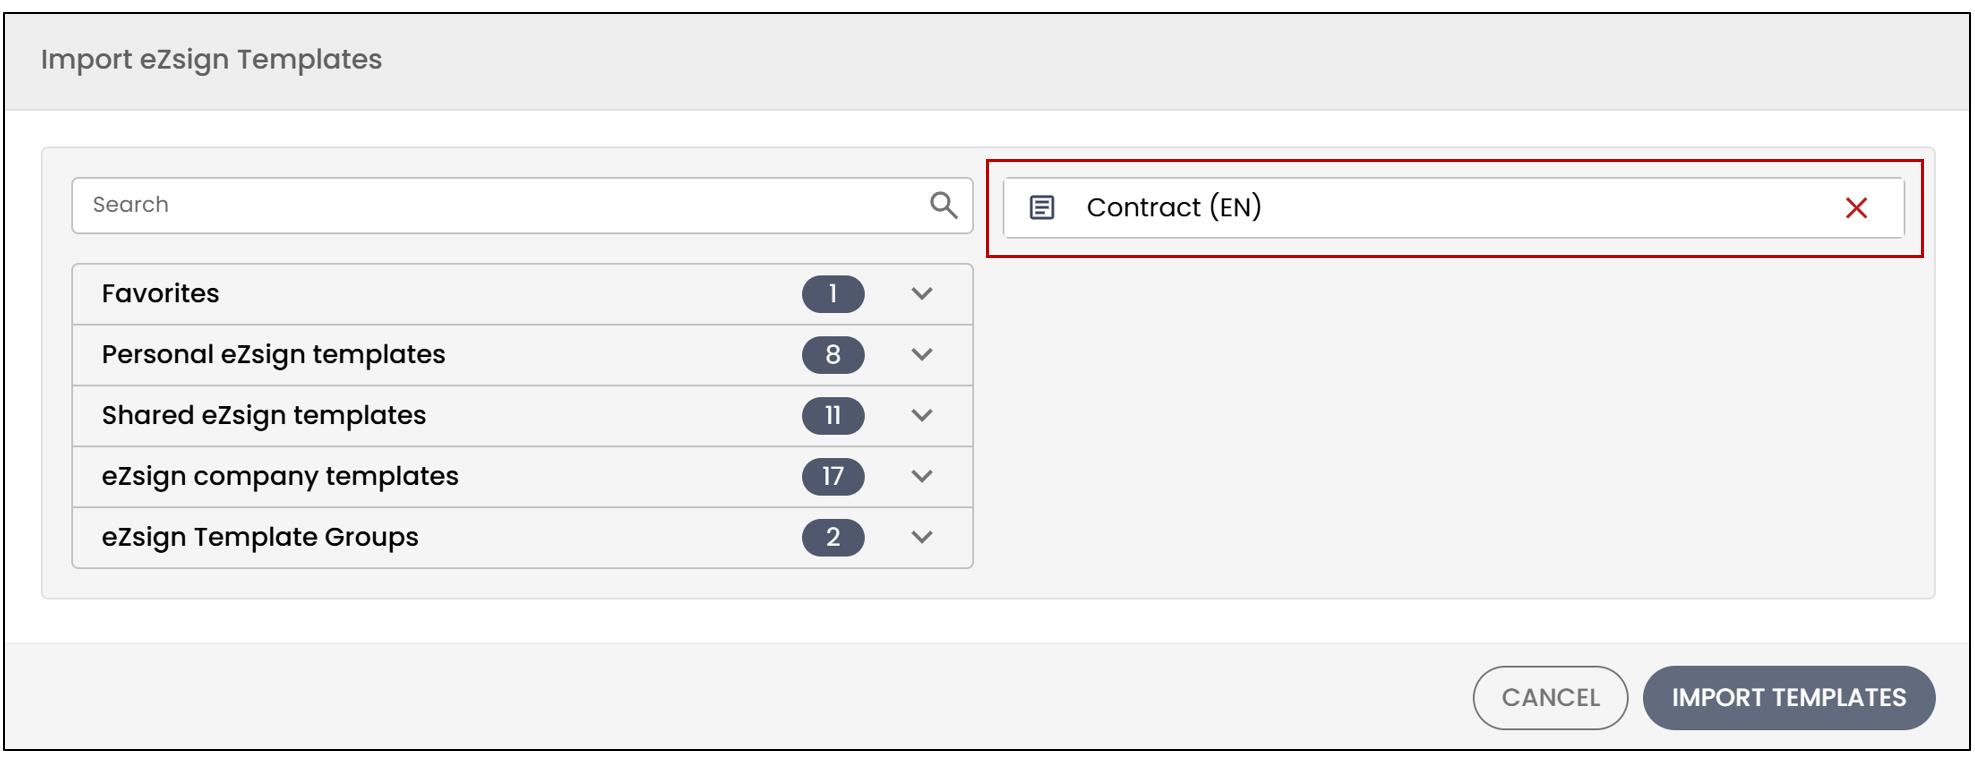
- Then, click on Import Templates.
Role Association
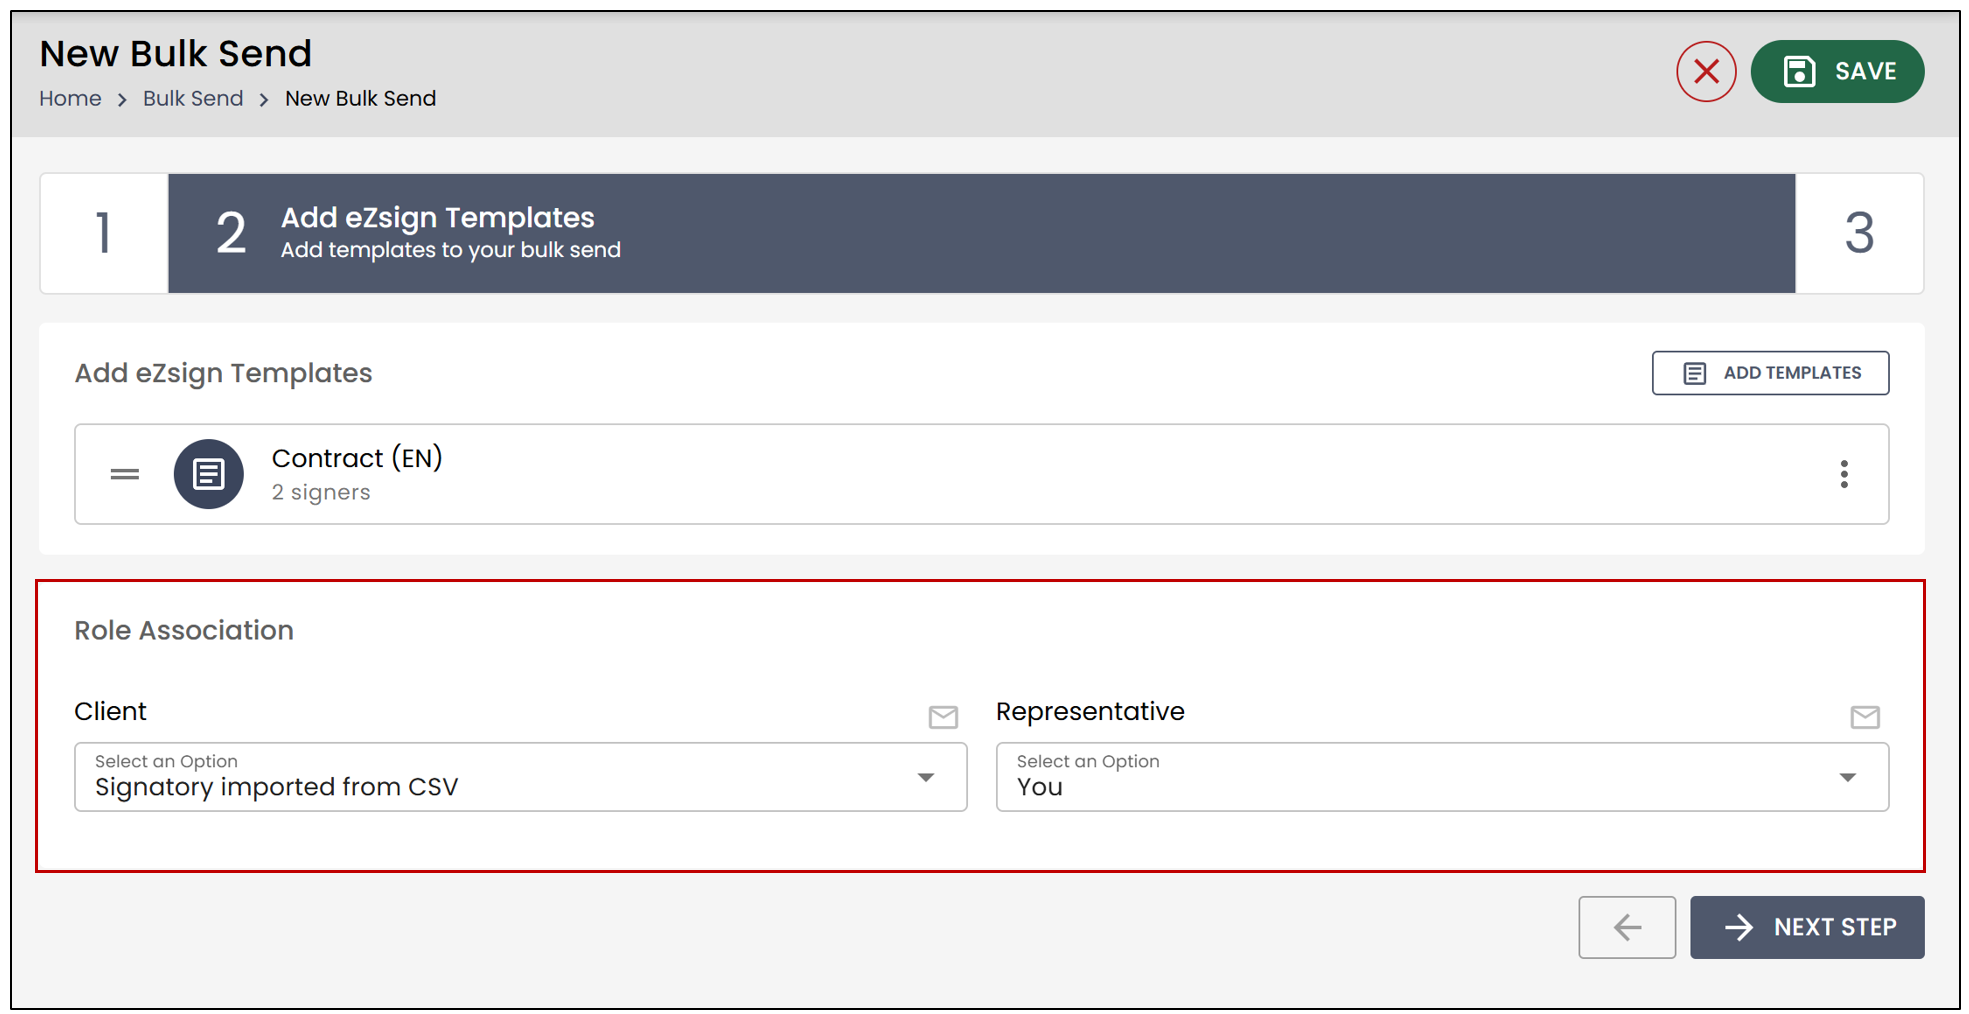
Next, you will need to determine the source of the people who will sign the document.
Select Signatory imported from CSV if the signers must be imported from the CSV file.
Select You if you want to sign the document yourself.
Once the origin of the signatories is selected, click on Next Step.
Transmission Creation
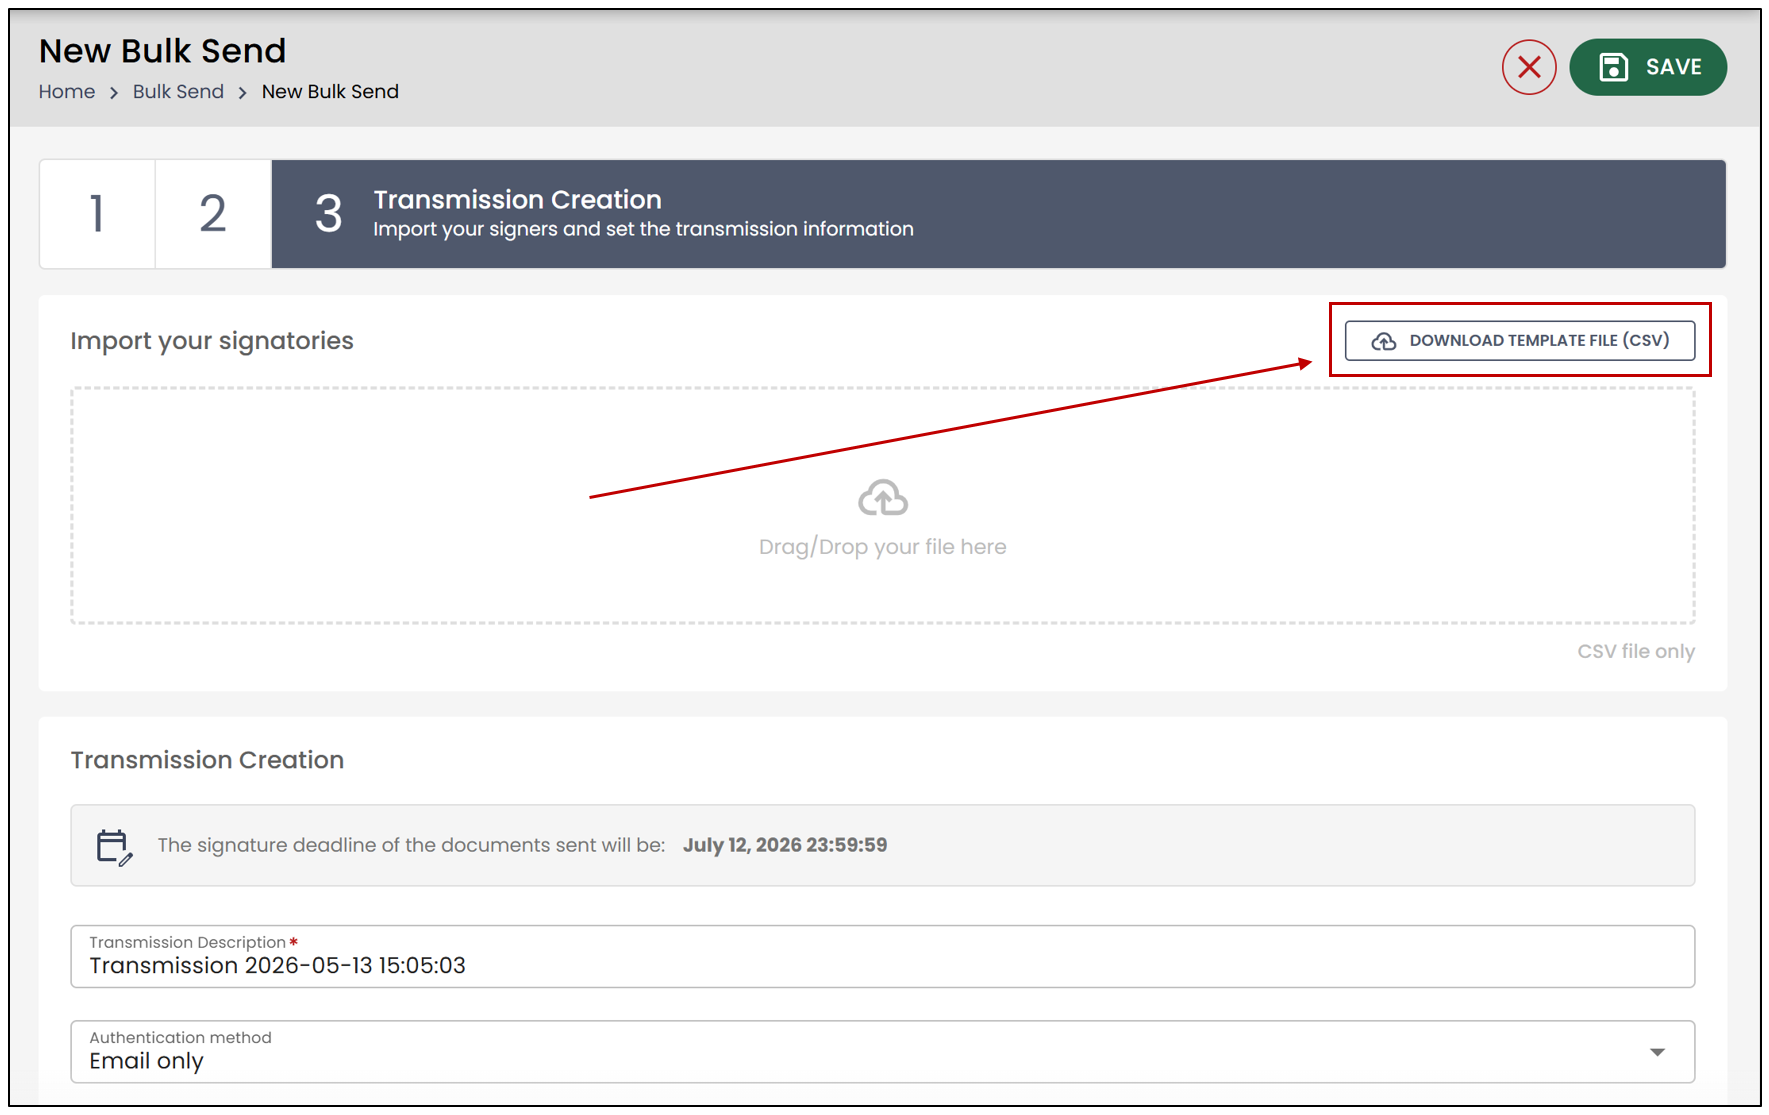
To fill out the CSV file, you will need to Download Template File (CSV).
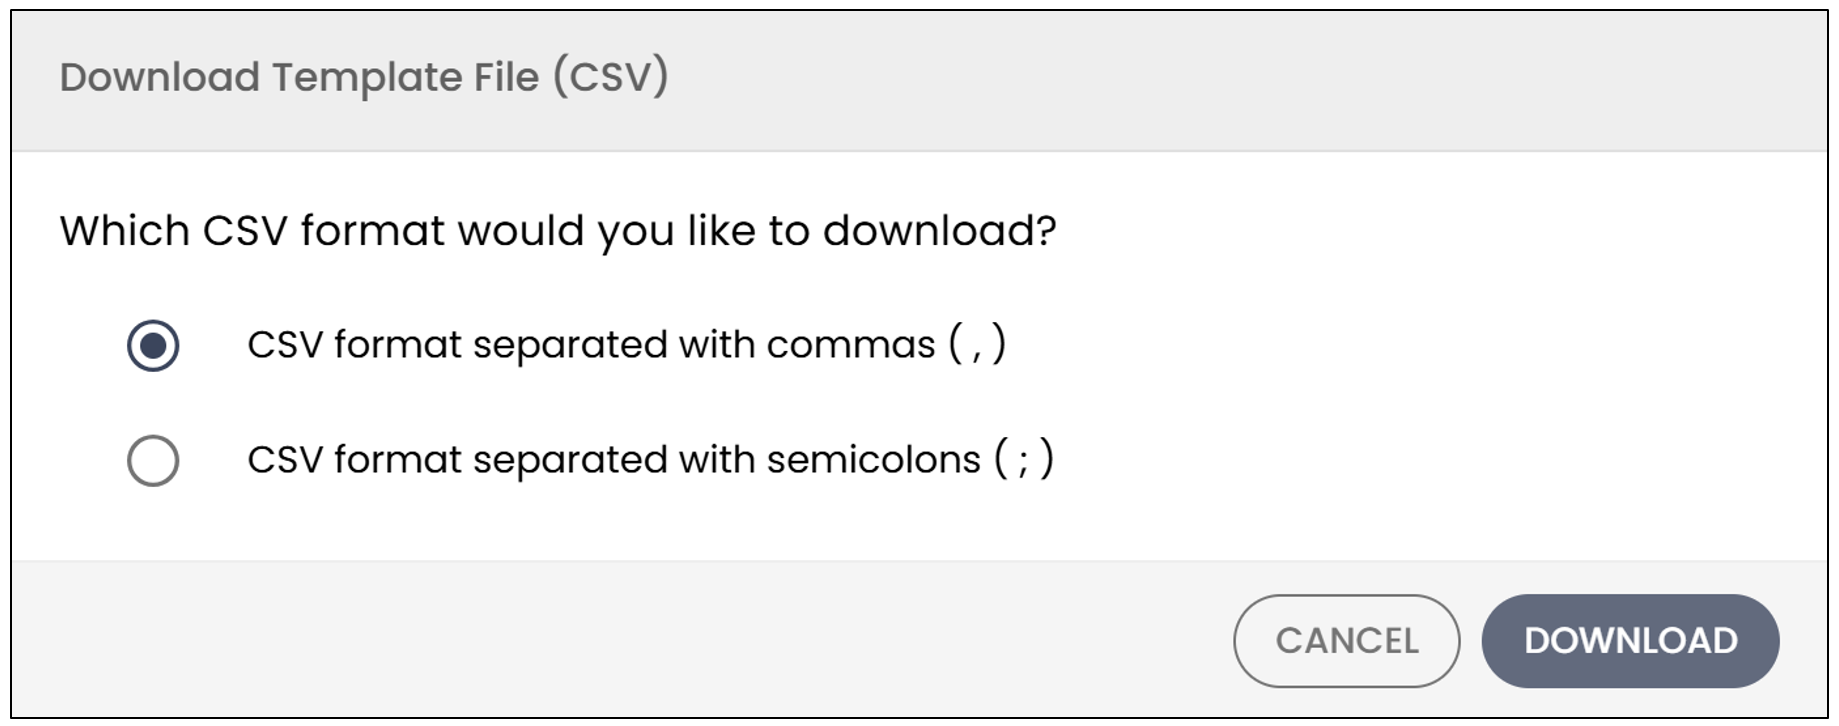
- Choose the desired CSV format, then click on Download.
Warning
When saving the file, make sure it retains the .csv extension. Some software may automatically change the file format, which could cause errors when importing it into the bulk send.
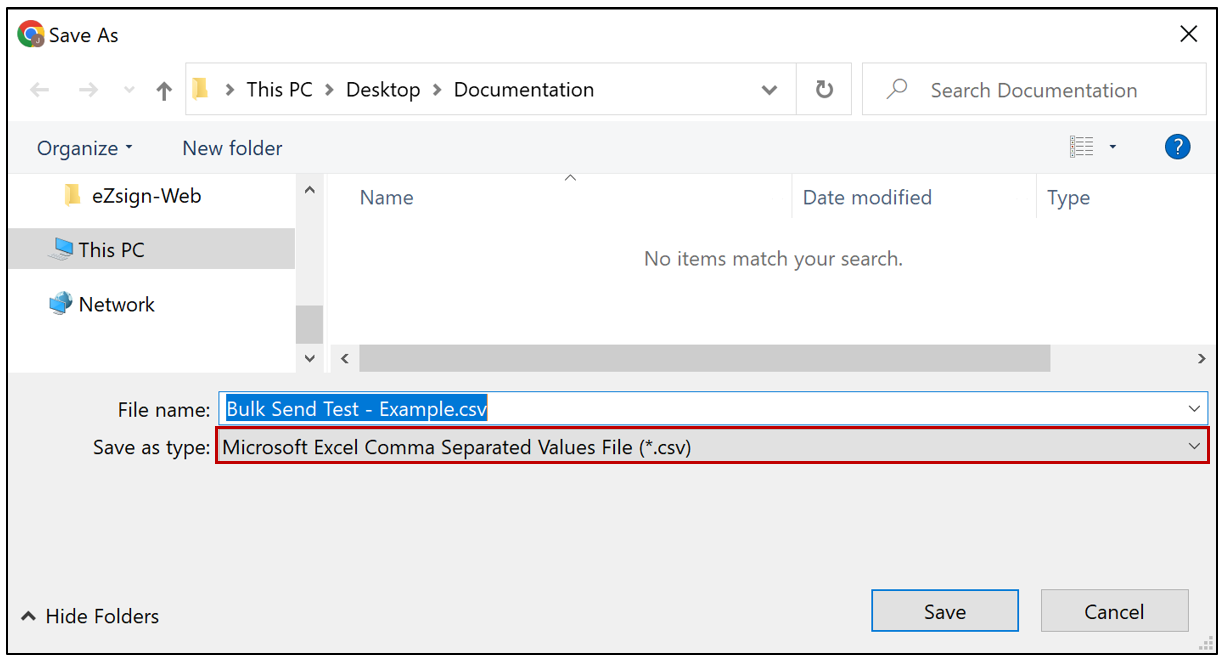
After opening the file, you will be able to fill in the information of the people who will receive the document for signing, as well as certain form fields that will be prefilled before sending.
This allows the creator to complete in advance any information they already have, while the signer will only need to fill in the remaining fields during signing.
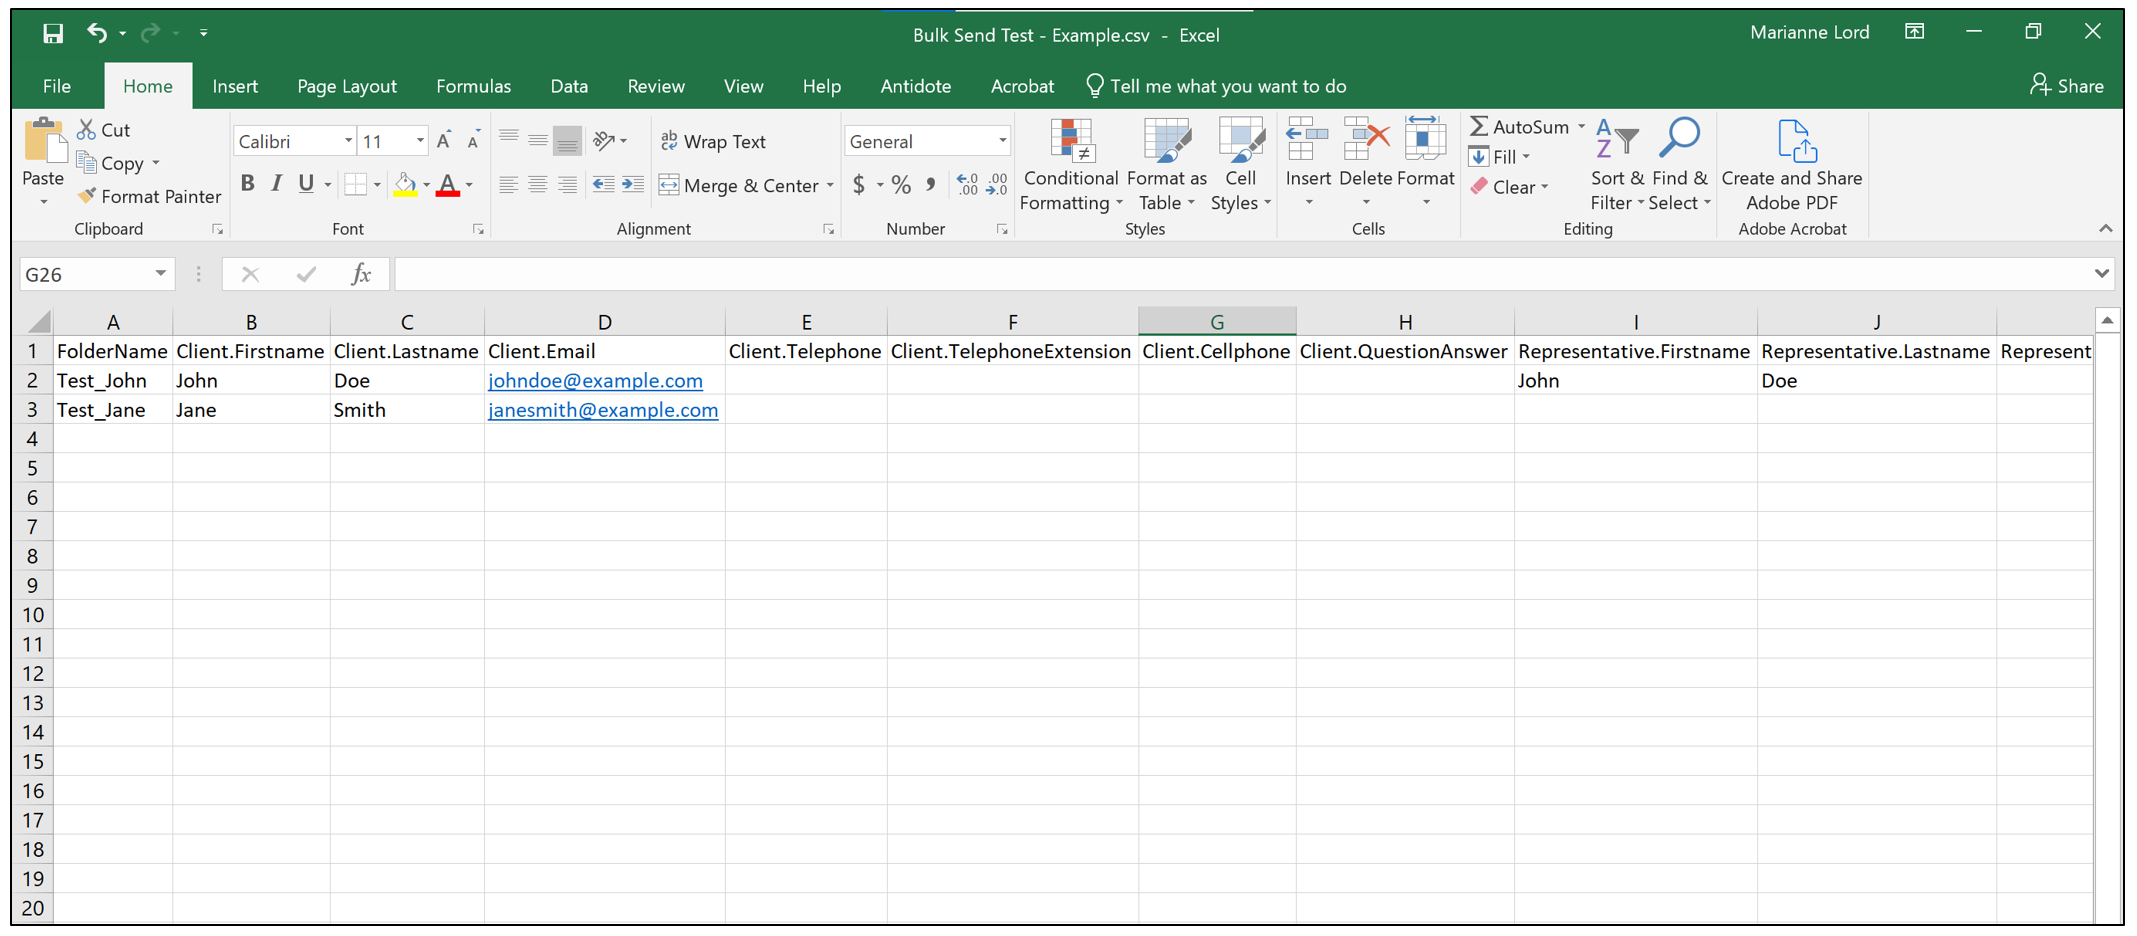
NOTE: The first columns of the CSV file are reserved for signer information and folder creation details, such as the folder name, first name, last name, and email address. Additional columns may also be used for authentication methods, such as a phone number for two-factor authentication or security questions.
The required fields are the folder name, first name, and last name.
When filling in the Folder Name in the CSV file, it is recommended to use a unique name for each signer to make it easier to search for and identify folders afterward.
- Once saved, drag and drop the document into the Import your signatories section.
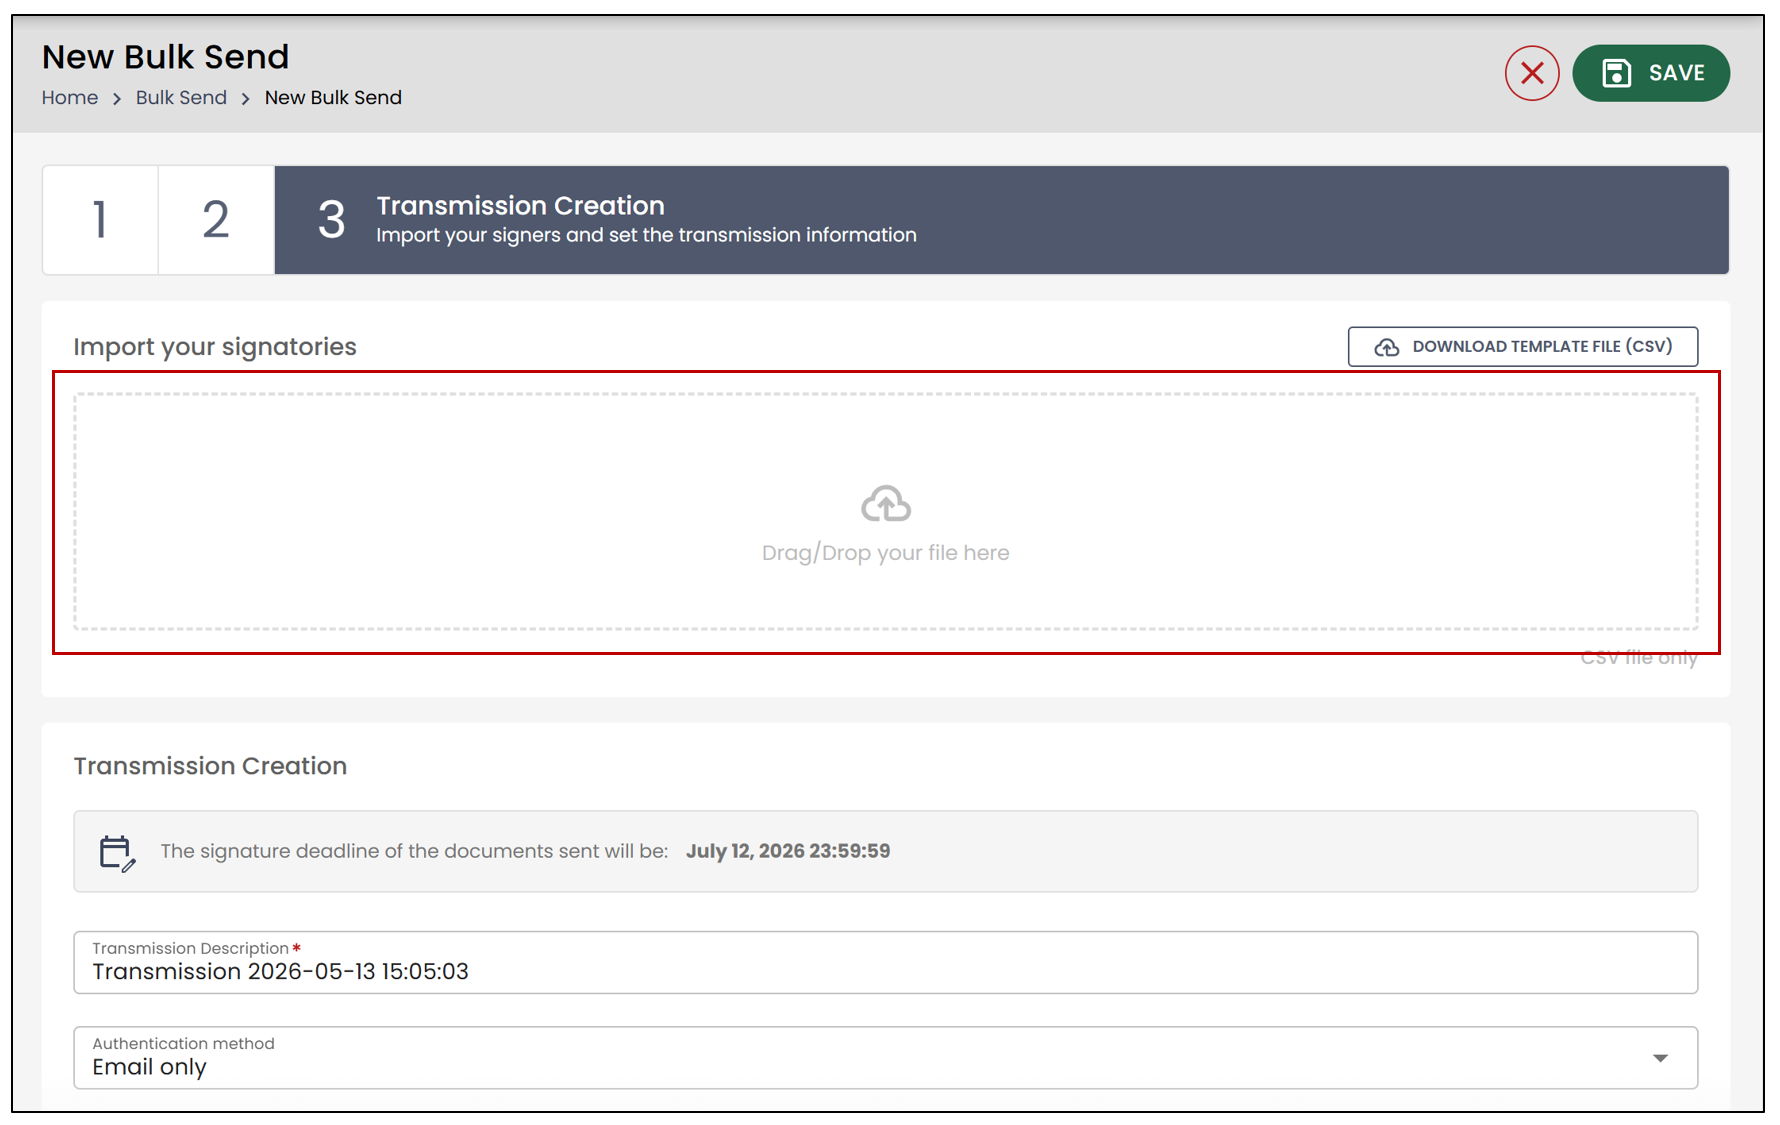
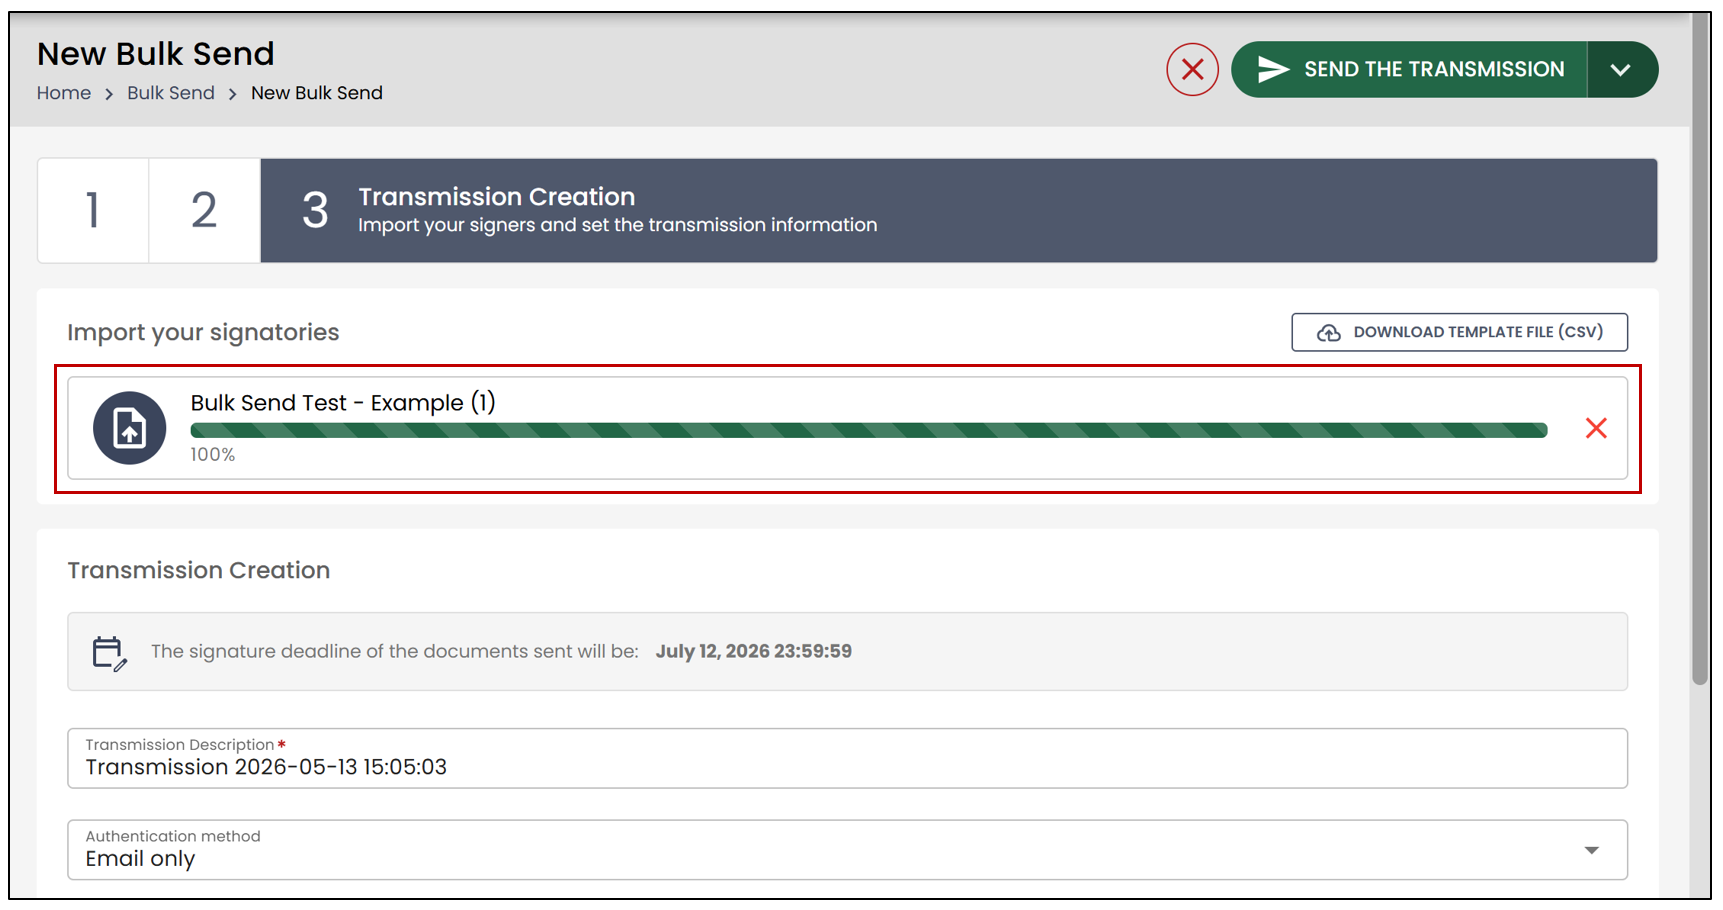
You will be able to modify the deadline date (by clicking the

icon), the authentication type, as well as the reminder frequency. These settings are initially configured based on the selected folder type.
It is also possible to add an additional message that will be sent to all signers included in the bulk send.
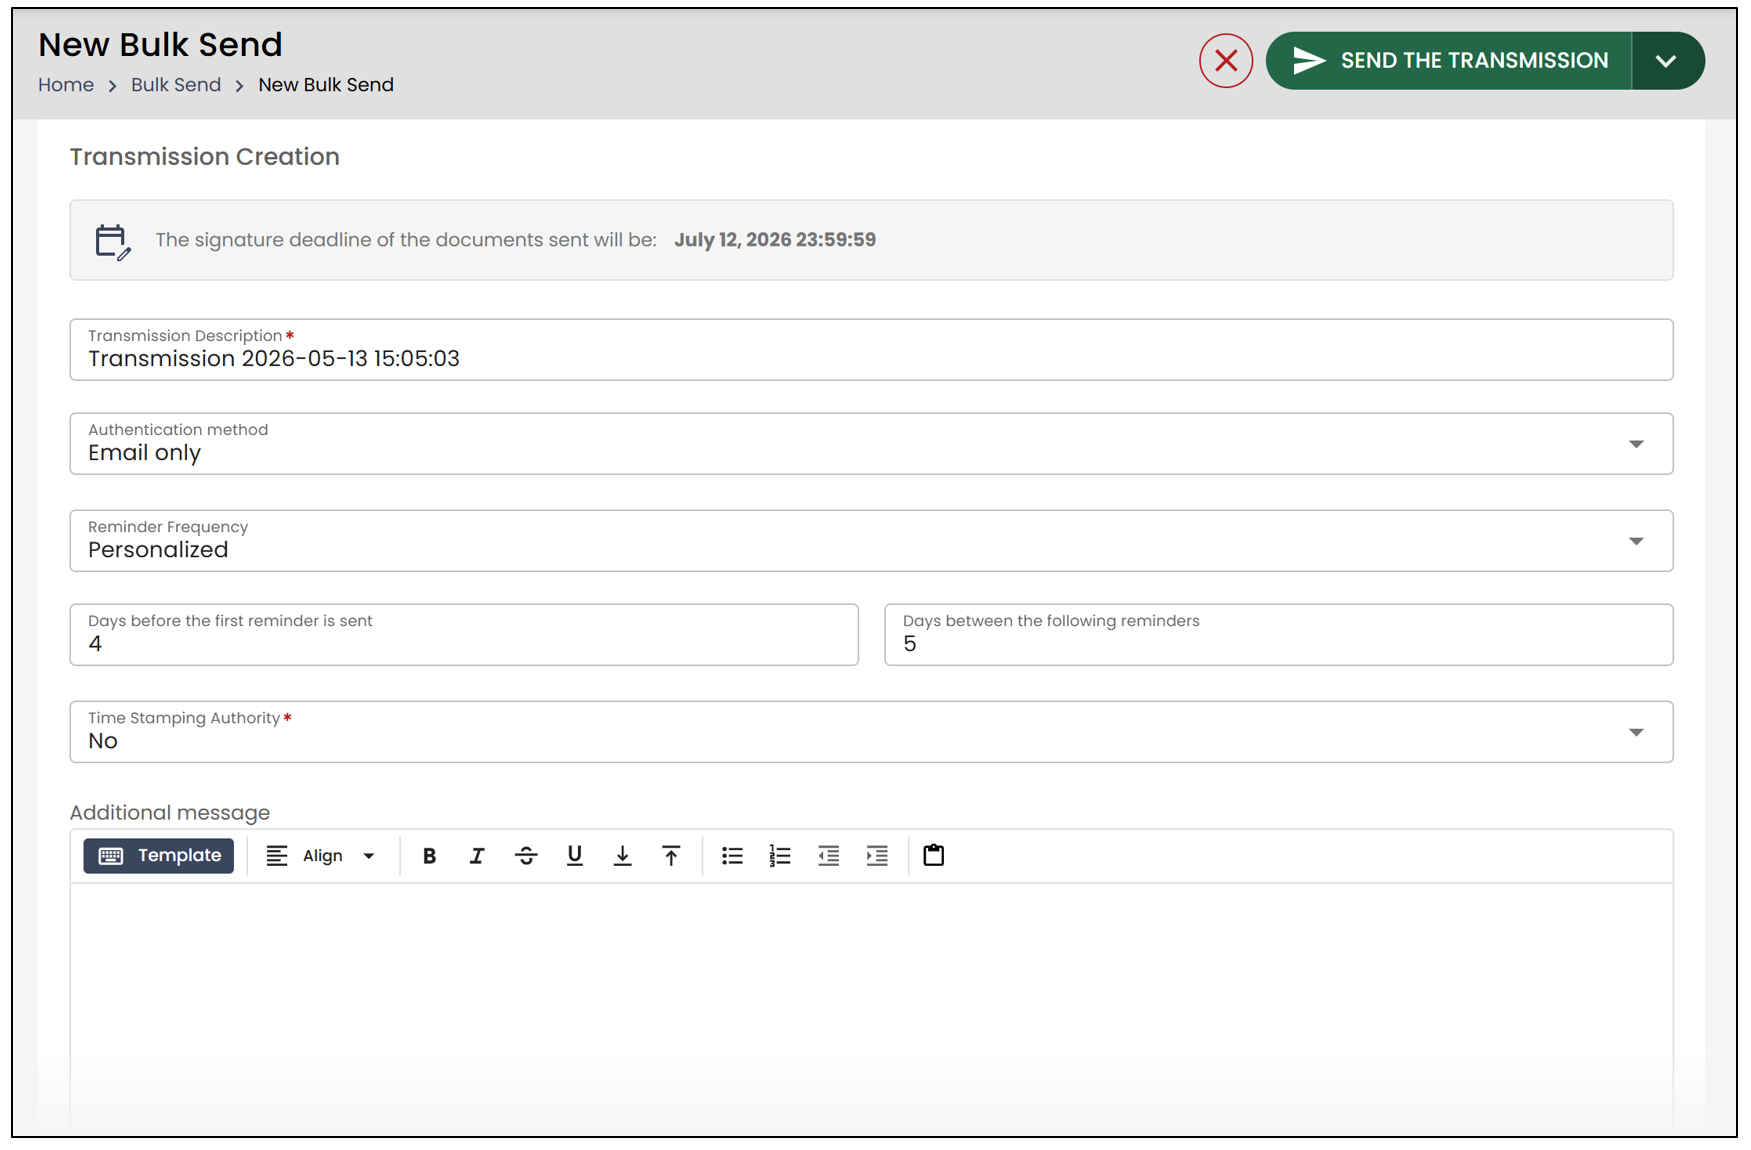
- Click Send Transmission.
NOTE: If you have multiple signers, the loading process may take longer, since eZsign will create an individual folder for each signer, add the signature fields, and send the documents automatically.
Transmission
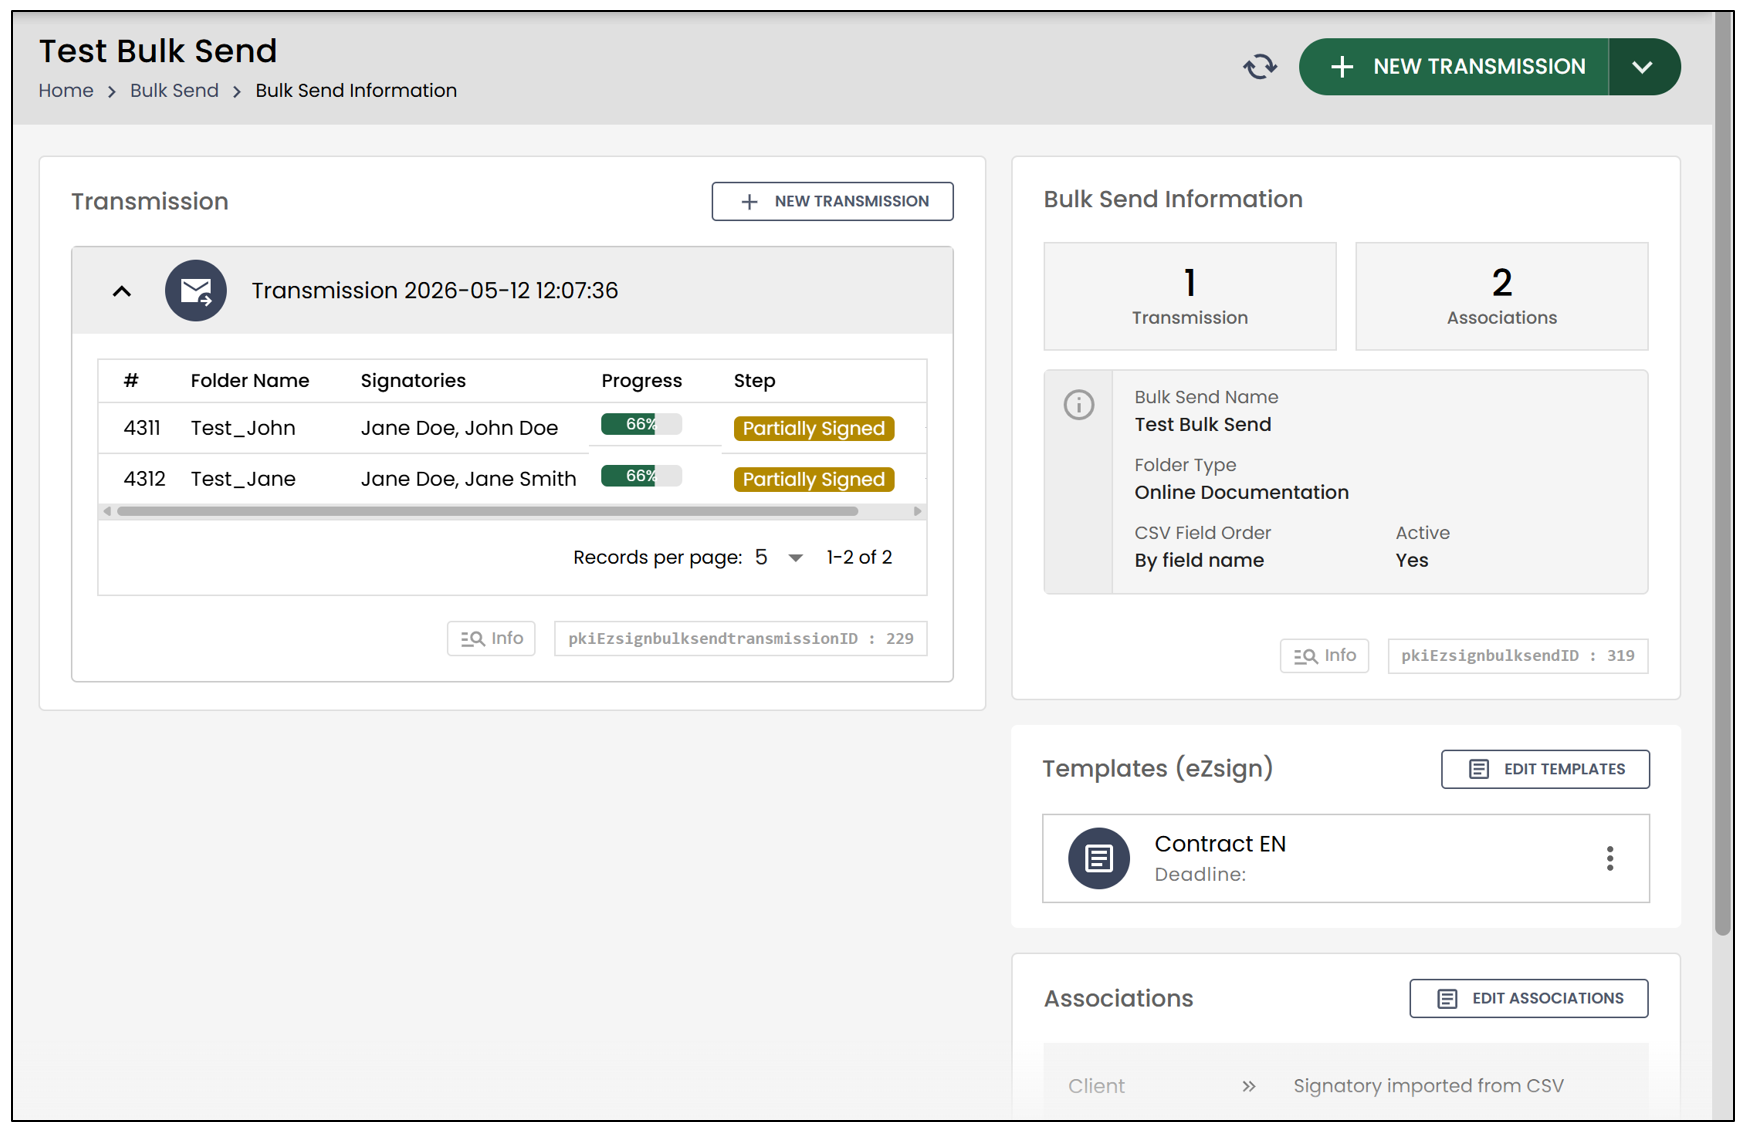
By clicking on a folder, you will be able to view all the information related to it. As with a manual send, it is possible to modify a folder individually without affecting the other folders in the bulk send.
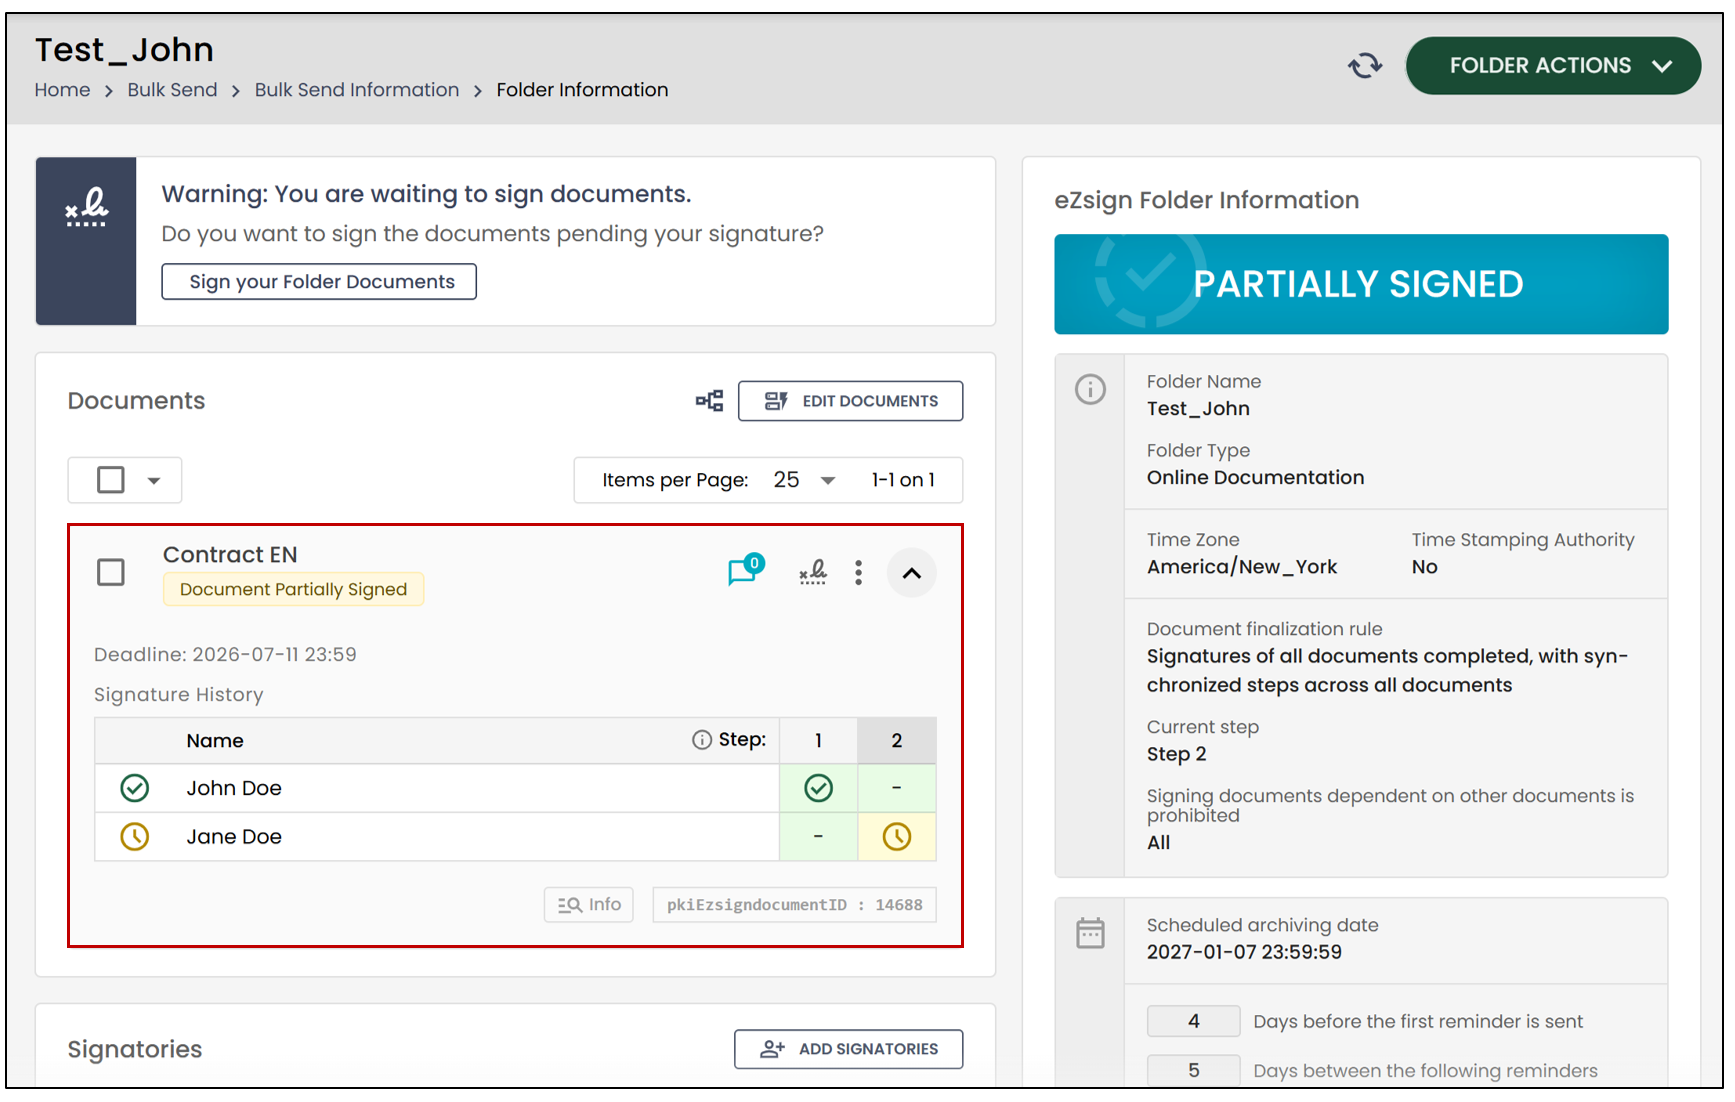
Signature
NOTE: The information in the form fields will be pre-filled before the signatory signs. The signatory will have the option to modify the fields before signing.
- In the Bulk Send Information , you will be able to track the progress of the signatures.
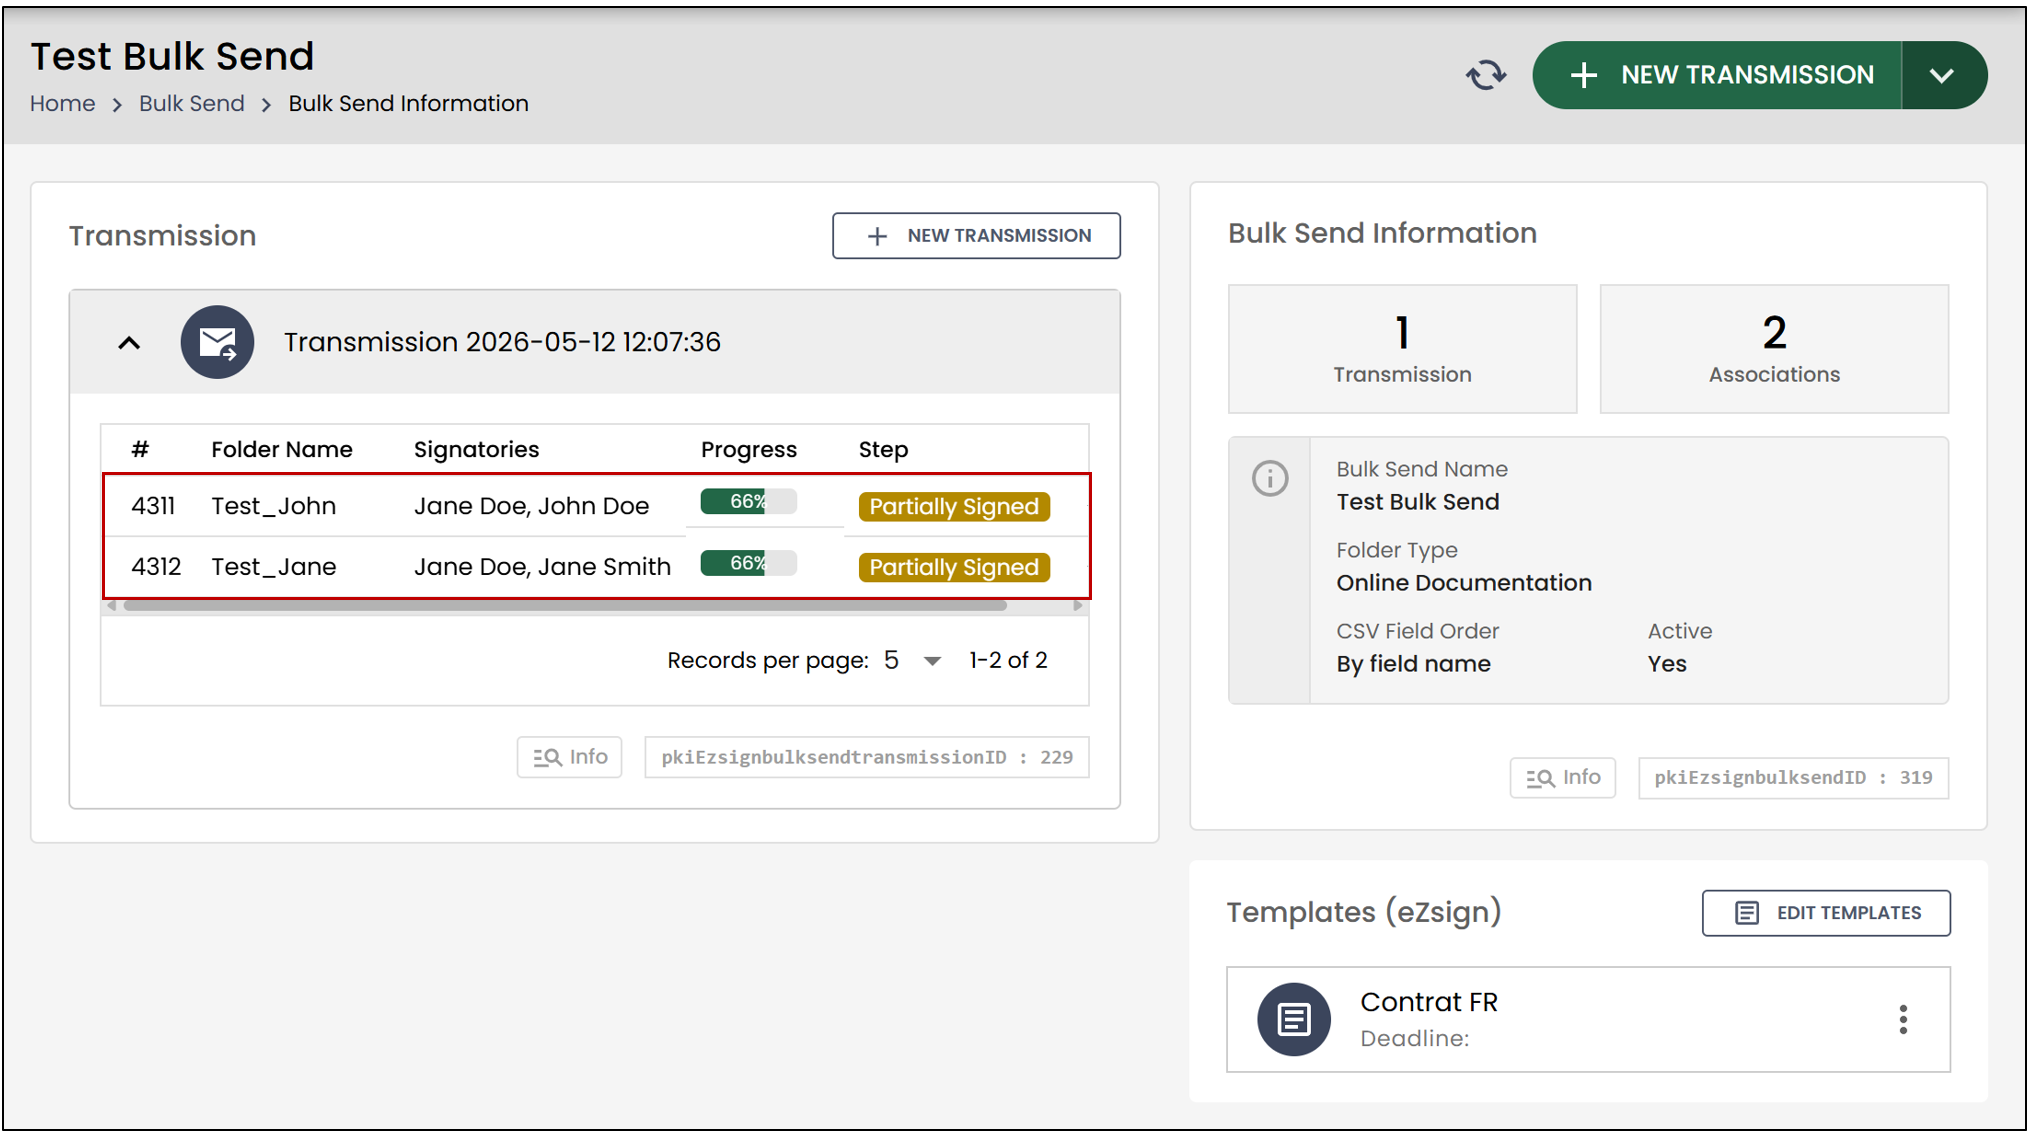
- In the Folder Information , you will be able to track the progress of the signatures.
Bulk Send Search
Bulk sends can also be found directly within eZsign folders.
The Source column allows you to identify:
- eZsign folders;
- bulk sends;
- shared links.
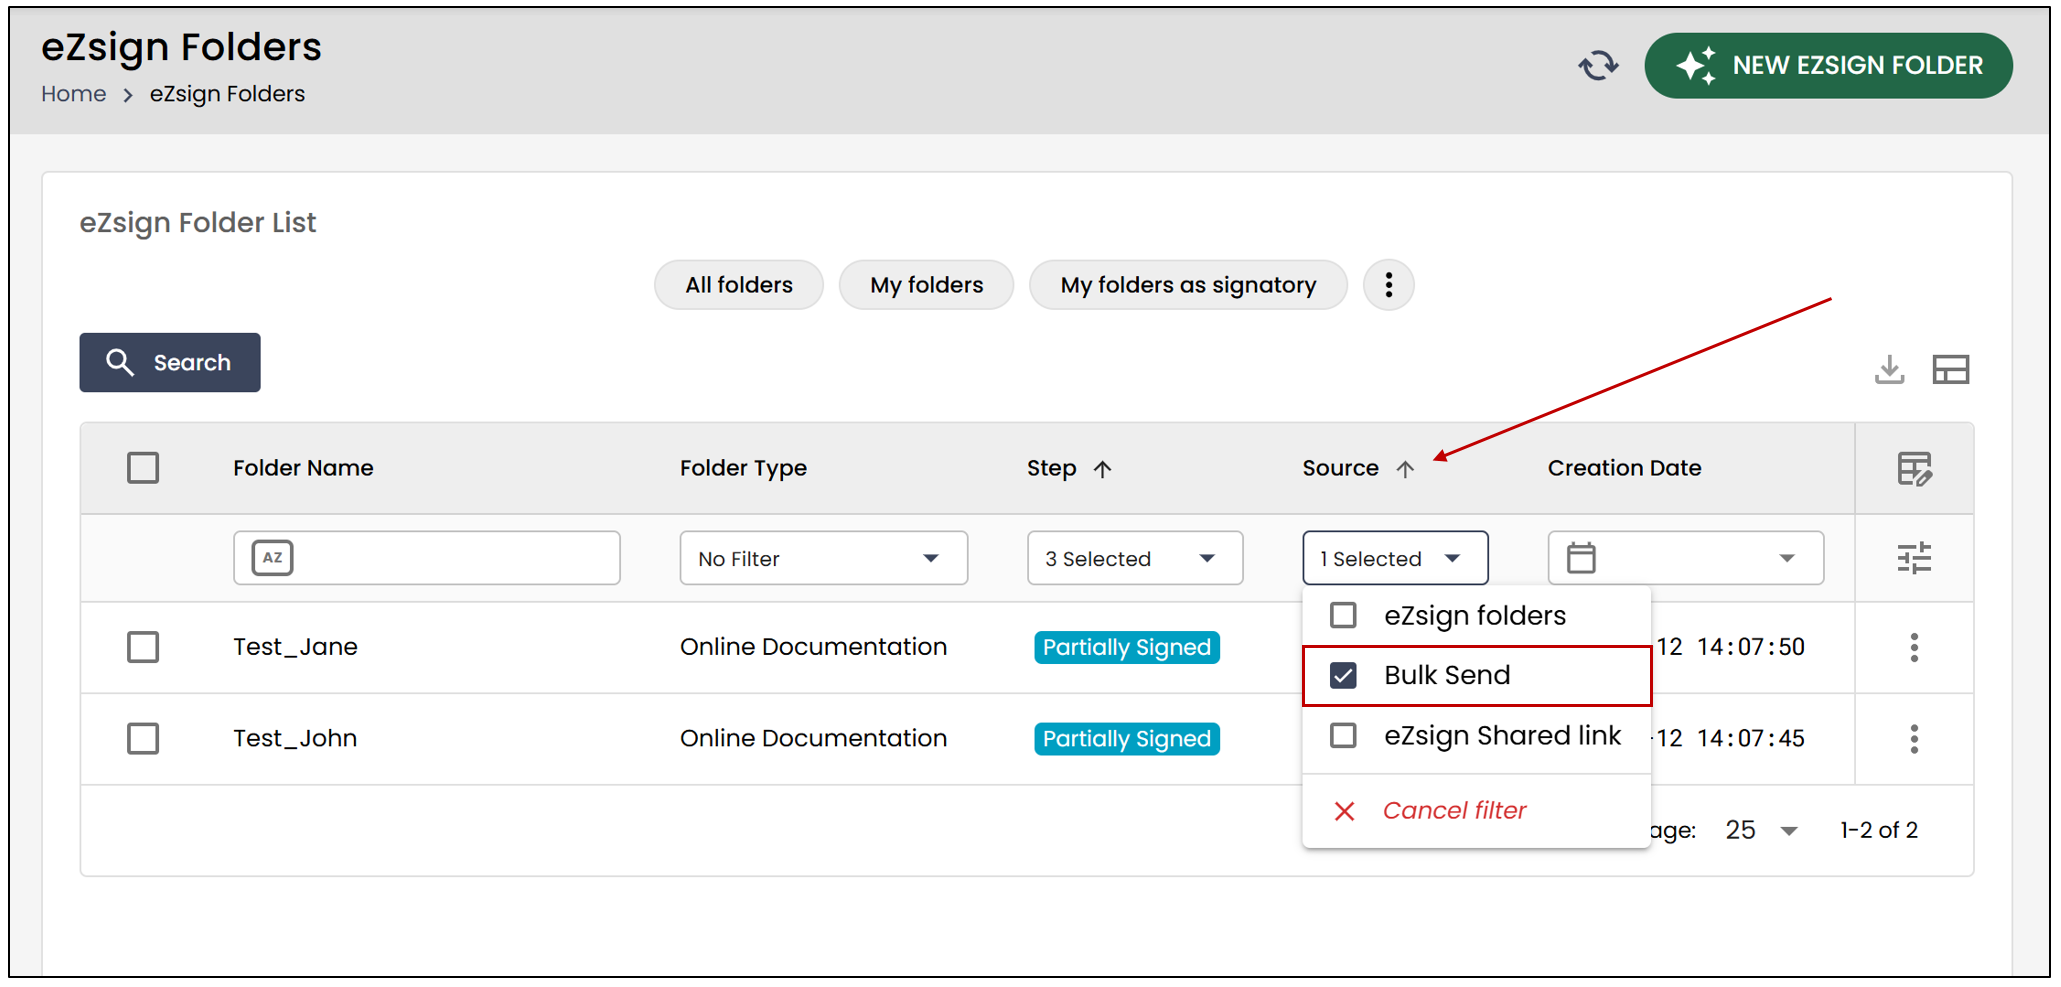
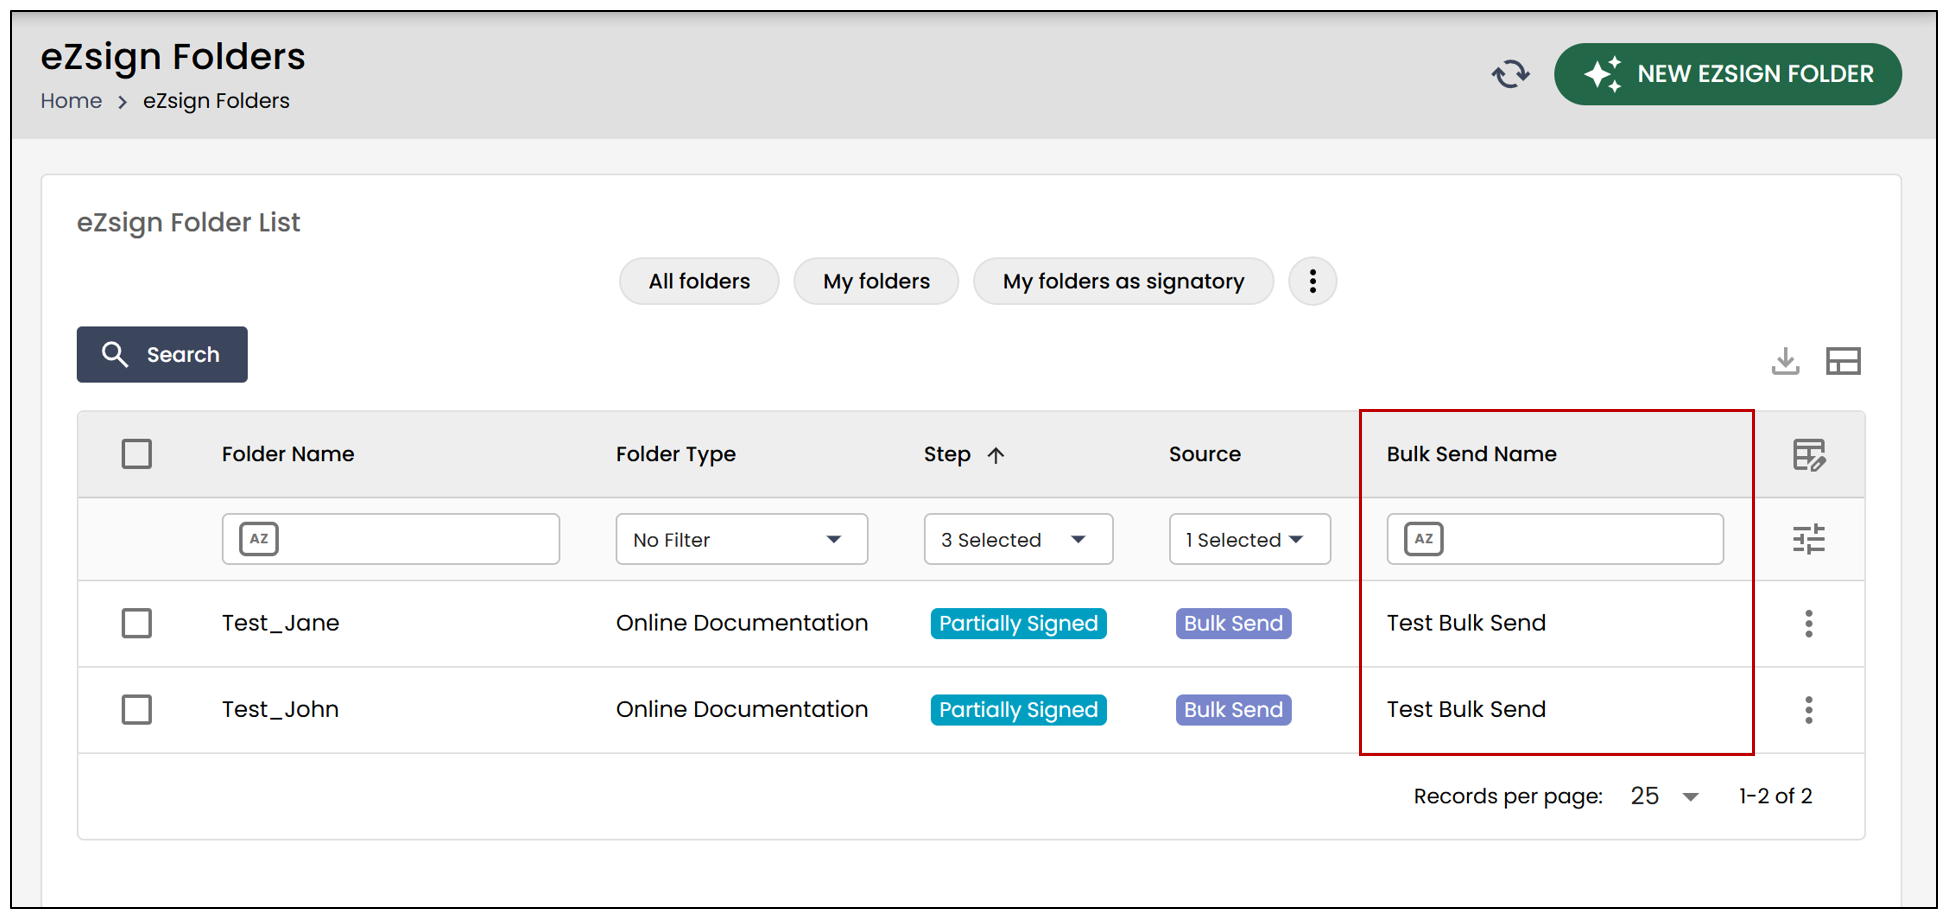
It is also possible to filter folders by the Bulk Send Name in order to quickly find all folders associated with a specific transmission.
Downloading Completed Documents
Once the bulk send is completed, it is possible to download:
- the associated CSV files;
- all completed documents in a single operation.
Mass downloading of documents requires the use of the eZmax application.
For more information on downloading completed documents, please refer to the article Batch Download of Documents From a Bulk Send.